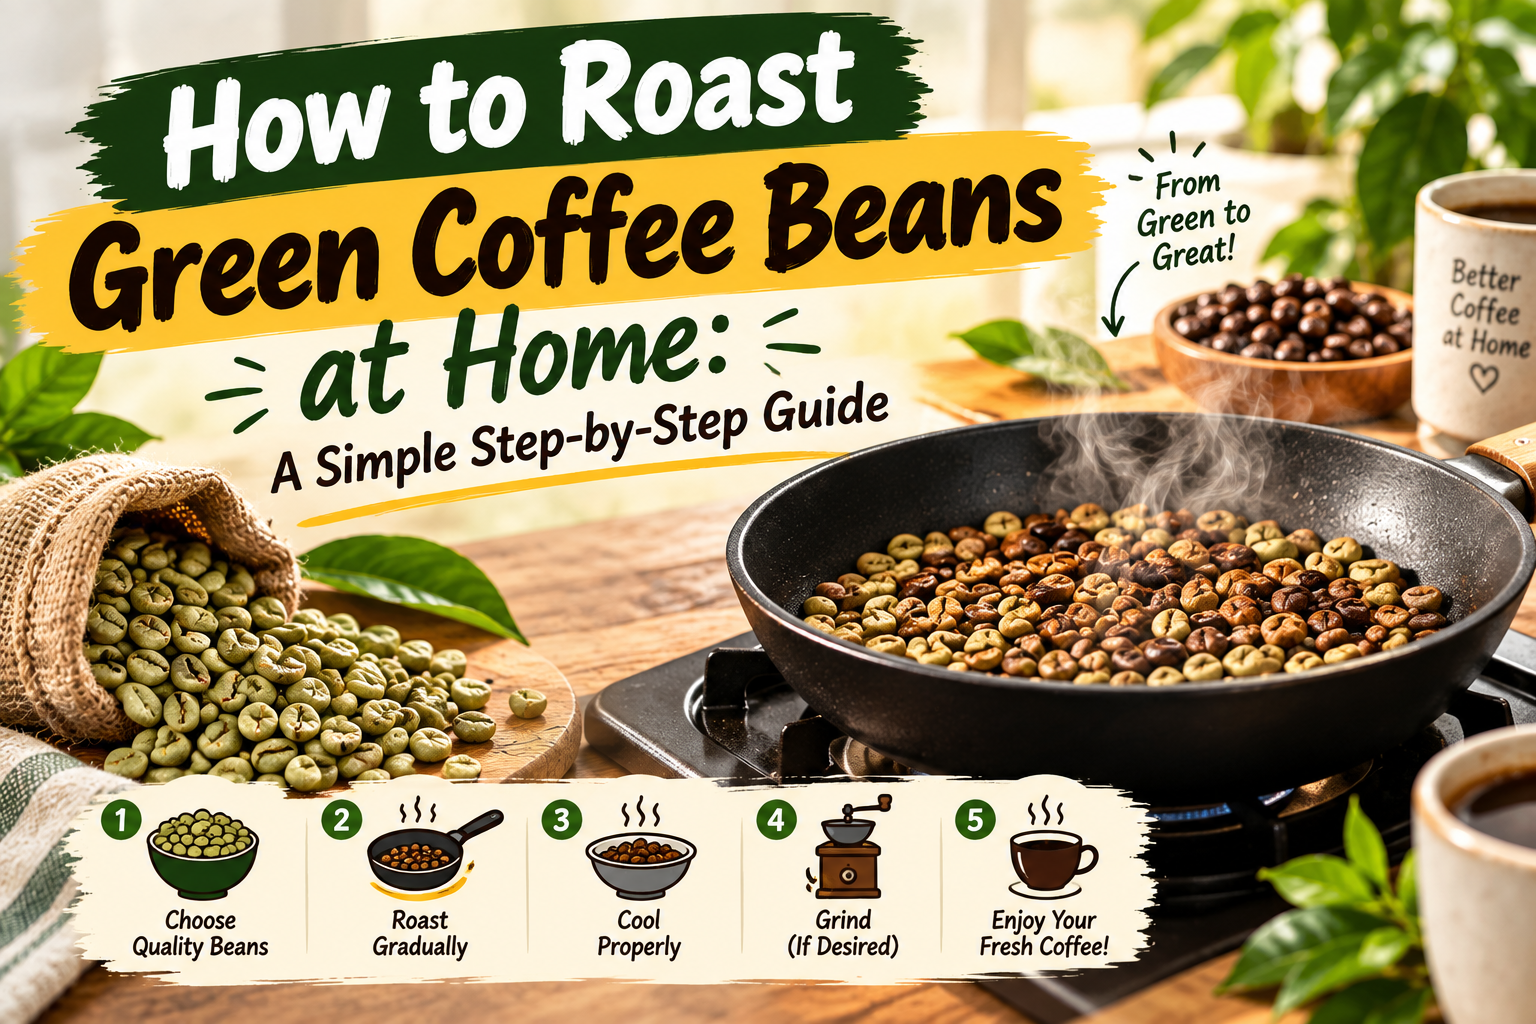
Have you ever wondered how green coffee beans become the brown beans in your morning cup?
The change happens through heat. This process is called coffee roasting.
Learning how to roast green coffee beans at home can be fun. You can start with simple tools. You can also learn more about coffee origins, roast levels, and flavor.
Your first batch may not be perfect. That is normal. Each batch teaches you something new.
This guide covers the full process. It also explains common mistakes, costs, safety, and storage.
What Are Green Coffee Beans?
Green coffee beans are raw coffee seeds. They come from the fruit of the coffee plant, called a coffee cherry.
The beans are hard and pale. They may look green, gray, or yellowish. Their smell is often grassy.
Roasting changes them in several ways:
The final taste depends on many things. These include the coffee origin, bean type, roast level, and brewing method.
For example, Arabica coffee often has a wide range of floral, fruity, and sweet notes. Robusta coffee can have a stronger and more bitter taste.
What Do You Need to Roast Green Coffee Beans?
You do not need a costly coffee roaster to start. But you do need the right tools and a safe work area.
Here is a basic list:
A kitchen fan can help move smoke away. An outdoor space may work better if it is safe and practical.
Important: Never leave roasting coffee unattended. The beans become very hot. Smoke can increase fast near a dark roast.
Which Method Is Best for Home Coffee Roasting?
There are several ways to roast green coffee beans. Each method has strengths and limits.
|
Method |
Cost |
Main Benefit |
Main Problem |
|---|---|---|---|
|
Heavy pan |
Low |
Easy to start |
Needs constant movement |
|
Hot-air popper |
Low to medium |
Fast roasting |
Small batches |
|
Oven |
Low if already owned |
Simple setup |
Less control |
|
Coffee roaster |
Medium to high |
Better control |
Higher cost |
A heavy pan is useful if you want to learn the basics. A dedicated coffee roaster may be better if you roast often.
A hot-air popcorn popper can also work for small batches. However, use only a suitable device and follow safety guidance. Some poppers are not designed for coffee roasting.
How to Roast Green Coffee Beans Step by Step
The process is simple in theory. The hard part is learning how heat changes the beans.
Start with a small batch. A small batch is easier to watch and control.
Step 1: Prepare Your Work Area
Open a window or use suitable ventilation.
Keep paper, cloth, oil, and other flammable items away from the heat.
Place your cooling tools nearby. You should not search for them while the beans are hot.
Have your timer ready. Keep your phone away from the work area if it may distract you.
Step 2: Weigh the Green Coffee Beans
Measure a small batch of green coffee beans.
Around 50–100 grams can be a useful learning size for some methods. The correct amount depends on your equipment.
Do not fill a device beyond its safe capacity. Too many beans may cause poor movement and uneven roasting.
Write down the bean weight. This will help you compare future batches.
Step 3: Start the Drying Stage
Add the beans to your roasting device.
At first, the beans stay green. Soon, they may turn yellow. You may notice a smell like grass or hay.
The beans release moisture as they heat. You may also see steam.
If you are using a pan, stir the beans often. Keep them moving so that one side does not receive too much heat.
Step 4: Watch the Color Change
The beans slowly move from yellow to light brown.
The smell also changes. It may become more like bread, toast, or warm grain.
This stage includes the Maillard reaction. Heat causes sugars and other compounds to react. These changes help create the color and aroma of roasted coffee.
Do not judge the roast by color alone. Bean size, origin, lighting, and roasting method can affect what you see.
Step 5: Listen for First Crack
At a later stage, you may hear small popping sounds.
This is called first crack.
The sound is caused by pressure and changes inside the beans. It may sound like popcorn popping or small twigs snapping.
First crack is an important roasting sign. But it is not a fixed finish line.
You can stop soon after first crack for a lighter roast. You can continue longer for a deeper roast.
Stay close to the beans at this point. The roast can change quickly.
Step 6: Choose Your Roast Level
Your stopping point affects the final flavor.
|
Roast |
Common Flavor Direction |
|---|---|
|
Light |
Bright, floral, fruity |
|
Medium |
Sweet, balanced, nutty |
|
Dark |
Bold, smoky, bitter |
These are broad guides. The coffee origin and roast profile also matter.
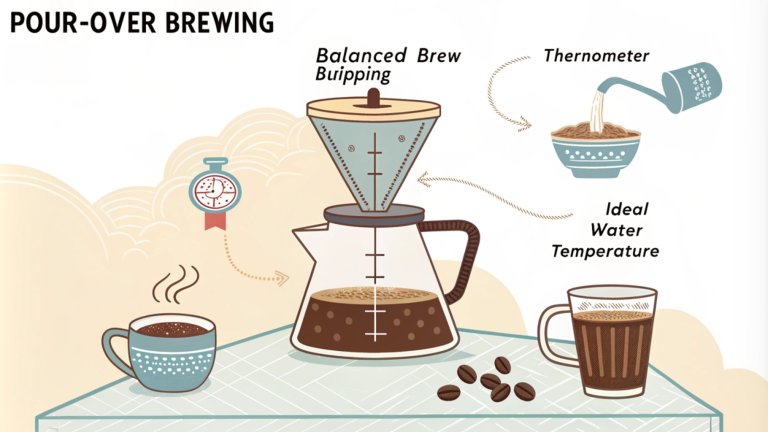
A light roast may work well with pour-over coffee. A medium roast is useful for many brewing styles. A dark roast may suit people who enjoy strong flavors or milk drinks.
Do not chase a very dark color on your first attempt. Dark roasting creates more smoke and increases the risk of burning the beans.
Step 7: Remove and Cool the Beans
When the beans reach your preferred roast level, remove them from the heat.
Place them in a metal colander or another safe cooling tool.
Shake or stir the beans. Use airflow if suitable.
Cooling should begin at once. Hot beans can continue roasting after removal from the heat.
The beans may also release chaff. Chaff is the thin skin that comes away during roasting. Keep it away from hot surfaces and clean the area after the roast.
How Long Does It Take to Roast Green Coffee Beans?
There is no single roasting time for every method.
The time depends on:
A small batch may take around 8–12 minutes. Some methods and larger batches may take longer.
Use time as a record, not as the only guide.
For each batch, write down:
- Start time
- First crack time
- Stop time
- Bean color
- Taste after brewing
This will help you repeat good results.
How Much Does Home Coffee Roasting Cost?
Your cost depends on the equipment you already own.
|
Setup |
Main Cost |
|---|---|
|
Existing pan |
Green beans and energy |
|
Hot-air popper |
Device, beans, and energy |
|
Oven |
Beans and energy |
|
Dedicated roaster |
Machine, beans, and energy |
Home roasting may reduce your cost per cup in some cases. But it is not always cheaper.
You should also consider:
A simple cost formula is:
Total batch cost = bean cost + energy cost + equipment cost share
Compare the cost per roasted gram, not only the price of green beans. Roasting removes moisture, so the final roasted weight is lower than the starting weight.
Common Green Coffee Roasting Mistakes
1. Using Too Many Beans
A large batch may not move well. This can lead to uneven roasting.
Fix: Start with a smaller batch.
2. Using Too Much Heat
High heat can burn the outside of the beans before the inside develops well.
Fix: Use controlled heat. Watch the color and smell.
3. Not Stirring Enough
Some beans may receive more heat than others.
Fix: Stir often when using a pan. Follow the movement needs of your roasting device.
4. Leaving the Roast Unattended
A dark roast can develop smoke very quickly.
Fix: Stay near the equipment from start to finish.
5. Brewing Too Soon
Freshly roasted beans release carbon dioxide. This can affect extraction and taste.
Fix: Let the beans rest before judging the roast.
6. Changing Too Many Things at Once
You may change the heat, batch size, and roast time together. Then it becomes hard to know what caused the result.
Fix: Change one variable at a time.
How to Rest and Store Freshly Roasted Coffee
Freshly roasted coffee needs time to release gas. This process is called degassing.
Some coffee may taste better after 12–24 hours. Other coffee, especially for espresso, may benefit from a longer rest.
There is no perfect rest time for every bean.
Follow these storage tips:
Try the coffee at different stages. Taste it after one day, two days, and several more days.
You may notice changes in aroma, sweetness, and balance.
How Roast Level Affects Brewing
Your roast level should match your taste and brewing method.
Pour-Over
A light or medium roast can show floral, fruity, and sweet notes. Use a suitable grind size and adjust the water flow as needed.
French Press
A medium or medium-dark roast may provide a fuller taste. Coarse grinding is common, but the best grind depends on your brew.
Espresso
Espresso needs careful adjustment. Freshly roasted beans may require more rest. You may need to change the grind, dose, and brew time.
Milk Coffee
A medium or dark roast may provide a strong flavor that remains noticeable in milk. But a lighter roast can also work well.
The key is to test the coffee. Your own taste matters more than a strict rule.
A Simple Home Roasting Checklist
Use this checklist before each roast:
A small notebook can become your roast journal.
Write down what worked and what did not. This habit can improve your results over time.
Frequently Asked Questions
Q1. Can you roast green coffee beans at home?
Yes. You can use a suitable pan, hot-air popper, oven, or dedicated coffee roaster. Each method has different limits. Safety, ventilation, and close monitoring are important.
Q2. How long does it take to roast green coffee beans?
The time varies by equipment, batch size, heat, and roast level. Many home batches take several minutes to around 20 minutes. Use visual and sound cues with the timer.
Q3. Can I roast coffee beans in a frying pan?
Yes, a suitable heavy pan can work for small batches. Stir the beans often and monitor the heat. Uneven roasting is possible, so practice is important.
Q4. What temperature is used to roast green coffee beans?
Roasting temperatures vary by equipment and stage. First crack often occurs around the high 190s to low 200s Celsius, but this is not a universal setting. Use your equipment guide and observe the beans.
Q5. How long should roasted coffee beans rest?
A short rest of 12–24 hours can be a starting point. Some beans and brewing methods need longer. Taste the coffee at different rest times.
Q6. Is home coffee roasting cheaper?
It can be, but not always. Your result depends on green bean prices, energy use, equipment cost, and waste. Calculate the full batch cost before comparing it with roasted coffee.
Final Thoughts
Learning how to roast green coffee beans takes practice.
Start with a small batch. Keep the beans moving. Watch the color, smell, and sound. Cool the beans quickly and record each roast.
Do not worry if your first batch is uneven. Use it as a lesson.
Over time, you may learn which coffee origins, roast levels, and brewing methods suit your taste. That is part of the joy of home coffee roasting.
Start small, stay safe, and let every roast teach you something.