How Long Does Coffee Percolate? Brew the Perfect Cup Every Time
Have you ever wondered how long to percolate coffee to get that perfect brew? You’re not alone! Many coffee lovers struggle to nail the timing, often ending up with a cup that’s either too bitter or disappointingly weak. But don’t worry—with a little understanding and a few simple tips, you can master the art of coffee percolation and enjoy a consistently delicious cup every time, feeling empowered and accomplished.
What is Coffee Percolation?
So, what exactly is coffee percolation? It’s a brewing method that involves continuously cycling boiling water through coffee grounds. This repeated cycling extracts flavors and oils, creating a full-bodied cup of coffee. The essential components of a percolator are:
- A reservoir for water.
- A central tube extends from the base to the brewing chamber.
- A filter basket to hold the coffee grounds.
As the water heats up, steam pressure forces it up the central tube and over the coffee grounds. The flavored water then filters back into the reservoir, repeating the cycle until you reach your desired strength.
Factors Influencing Percolation Time
Several factors can affect how long coffee percolates, including grind size, water temperature, and the coffee-to-water ratio. Understanding these factors is key to achieving your ideal brew.
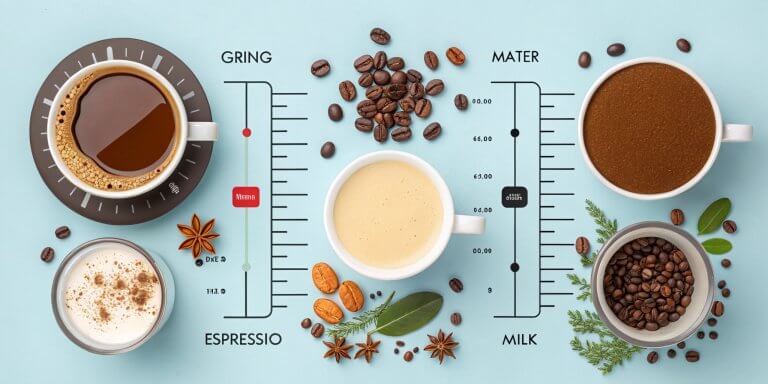
- Grind Size: Finer grounds increase extraction speed, while coarser grounds slow it down. A medium grind is generally recommended for percolation.
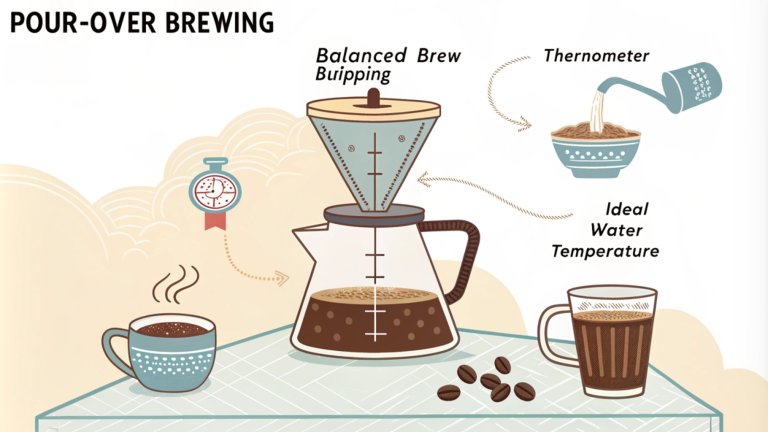
- Water Temperature: The ideal water temperature is between 195°F and 205°F (90°C to 96°C). Too hot, and you risk over-extraction and bitter flavors. Too cool, and you may end up with a weak taste.
- Coffee-to-Water Ratio: A standard ratio of 1-2 tablespoons of coffee per 6 ounces of water is a good starting point. More coffee results in a richer taste but may decrease brewing time.
Ideal Brewing Times for Coffee Percolation
So, how long should coffee be percolated for the best flavor? The ideal percolation time typically ranges from 7 to 12 minutes. However, this can vary depending on the type of percolator you’re using.
- Stovetop Percolators: These usually take between 7-12 minutes.
- Electric Percolators: Electric models typically range from 5 to 10 minutes.
Taste Profiles at Different Times
Understanding how brewing time affects taste can help you refine your coffee experience.
- Under-Extracted (Less than suggested time): You’ll likely notice a sour taste and a lack of full-bodied flavor.
- Perfect Extraction (Within recommended time): Expect a balanced flavor with pleasant acidity, sweetness, and complexity.
- Over-Extracted (More than the suggested time): You may taste bitterness and astringency.
Step-by-Step Guide to Percolating Coffee
Here’s a simple guide to help you through the percolation process:
- Gather Your Equipment: You’ll need a percolator, coffee grounds (medium-coarse), water, and a heat source.
- Measure Coffee and Water: Use one to two tablespoons of coarsely ground coffee for every six ounces of water.
- Fill the Percolator: Pour the measured water into the lower chamber and place the coffee grounds in the filter basket.
- Assemble the Percolator: Secure the lid tightly.
- Apply Heat: Place the percolator on a burner or plug in the electric model.
- Monitor the Brewing Time: For stovetop models, watch for the first signs of bubbling and aim for a brewing time of 7-12 minutes. Electric models typically take 5-10 minutes.
- Check for Clarity: When the coffee begins to bubble, ensure it’s rich in color. More transparent liquid indicates over-extraction.
- Remove from Heat: Once it reaches your desired strength, remove the percolator from heat.
- Serve and Enjoy: Let it sit for a minute before pouring.
Adjusting Brewing Time for Taste Preference
Fine-tuning how long to percolate coffee can significantly enhance your coffee experience. Consider these adjustments based on your taste:
- Shorter Times: If you prefer a lighter, less bitter taste, reduce the brewing time by 1–2 minutes. This suits medium and light roasts.
- Longer Times: For a more robust flavor, increase the brewing time by 1–2 minutes, especially with dark roasts or finely ground coffee.
Experimentation is key to discovering your perfect cup, adding a sense of adventure and engagement to your coffee journey.
Common Myths About Coffee Percolation
Let’s debunk some common myths about coffee percolation:
- Myth 1: Longer Percolation Always Means Stronger Coffee: Over-extraction often occurs when coffee brews for too long, causing bitterness.
- Myth 2: All Coffee Beans Need the Same Grind Size: Finer grounds extract flavors quickly, while coarser grounds take longer.
- Myth 3: The Color of Coffee Indicates It’s Ready: It’s essential to observe not just the color but also the bubble activity during brewing.
- Myth 4: You Can Use Any Water Temperature: Ideal brewing occurs at about 200°F (93°C).
- Myth 5: Dark Roasts Require the Same Brewing Time as Light Roasts: Light roasts benefit from shorter brewing times, while dark roasts can handle longer times.
Tips for Perfecting Coffee Percolation
- Choose the Right Percolator: Select a quality percolator that maintains temperature well.
- Monitor Heat Source: Control the heat to avoid overheating.
- Use Fresh Water: Always start with fresh, cold water.
- Maintain Your Equipment: Regularly clean your percolator.
- Avoid Over-Extracting Coffee: Stick to the 7 to 10-minute range.
- Use Coarsely Ground Coffee: Stick to a medium-coarse grind for even extraction.
- Check Water Temperature: Aim for about 190°F (88°C).
- Adjust for Taste: Experiment with slight variations to find your ideal flavor profile.
- Correct Coffee-to-Water Ratio: Use one tablespoon of coffee per six ounces of water.
The Perks of Percolated Coffee
Despite its old-fashioned reputation, perked coffee has some unique advantages that might just win you over:
- Bold Flavor: Percolators are known for producing a strong, full-bodied brew.
- Camping-Friendly: Percolators are durable and easy to use on a camping stove.
- Waste Reduction: Percolators generate no waste aside from coffee grounds.
- Customization: The percolation brewing method allows you to extract as much coffee and flavor you want from your beans.
Potential Drawbacks
Of course, coffee percolation isn’t without its challenges:
- Bitterness: Percolated coffee can be more bitter than other brewing methods.
- Hands-On Process: It requires more attention than automated methods.
- Overheating: It is easy to overheat coffee beans, resulting in bitter flavors.
Troubleshooting Coffee Percolation
- If your coffee is weak and unbalanced, you probably under-percolated. Next time, let your percolator sit for an extra 2–4 minutes.
- If your coffee, you tastes burnt and bitter: You probably over-percolated. Take your percolator off the heat 1–3 minutes sooner or reduce the heat slightly once the coffee starts percolating.
- The first coffee tasted great, but the second cup was super bitter: Your coffee continued to steep after being taken off the heat. Transfer any coffee left over in the percolator to a fresh thermos.
- Coffee is too acidic: This could be caused by using too much coffee and not letting it brew long enough.
Making Percolated Coffee Weaker
- Adjust the coffee-to-water ratio by using a larger quantity of water than coffee grounds. A good starting point is a 1:15 ratio.
- Grind the coffee beans coarser to reduce extraction and create a milder flavor during percolation.
- Shorten the time it takes to percolate coffee by monitoring the brewing process and removing the coffee from heat sooner to prevent over-extraction.
- Consider using a lighter roast coffee, as darker roasts can yield a stronger, more intense flavor.
- Experiment with different coffee bean origins, like Brazilian or Colombian, known for their mellow and less intense taste, to achieve a weaker percolated coffee.
Brewing With Electric Percolators
Electric percolators are much easier to use because they’re more set-and-forget than stovetop percolators. For good electric-perk coffee, you just need to use fresh beans, ground to the correct consistency, and you’ll end up with a fantastic cup of coffee every time. Most electric percolators have built-in sensors that ensure the temperature does not rise beyond a certain point.
How to Tell When Your Coffee Is Done Percolating
Determining when your how long to percolate coffee has percolated long enough can be subjective, but there are some things you can look for:
- The percolator makes a distinctive whistling sound when the coffee is percolating. You’ll also hear the coffee bubbling, which should happen after 7-10 minutes of brewing.
- Keep an eye on the color of the coffee in the pot’s glass knob or window, as it can offer insight into the brew’s darkness.
Finding the perfect time to percolate coffee can transform your coffee experience. By understanding the factors that influence percolation time and experimenting with different techniques, you can fine-tune your process to suit your taste. So grab your percolator, experiment with grind size and brewing times, and enjoy the journey of perfecting your cup. Happy brewing!
