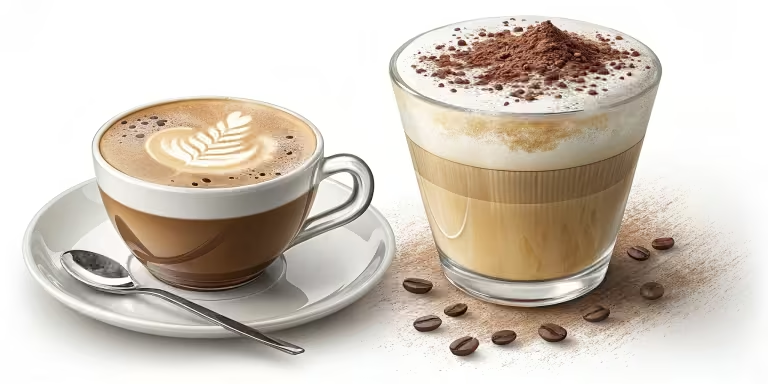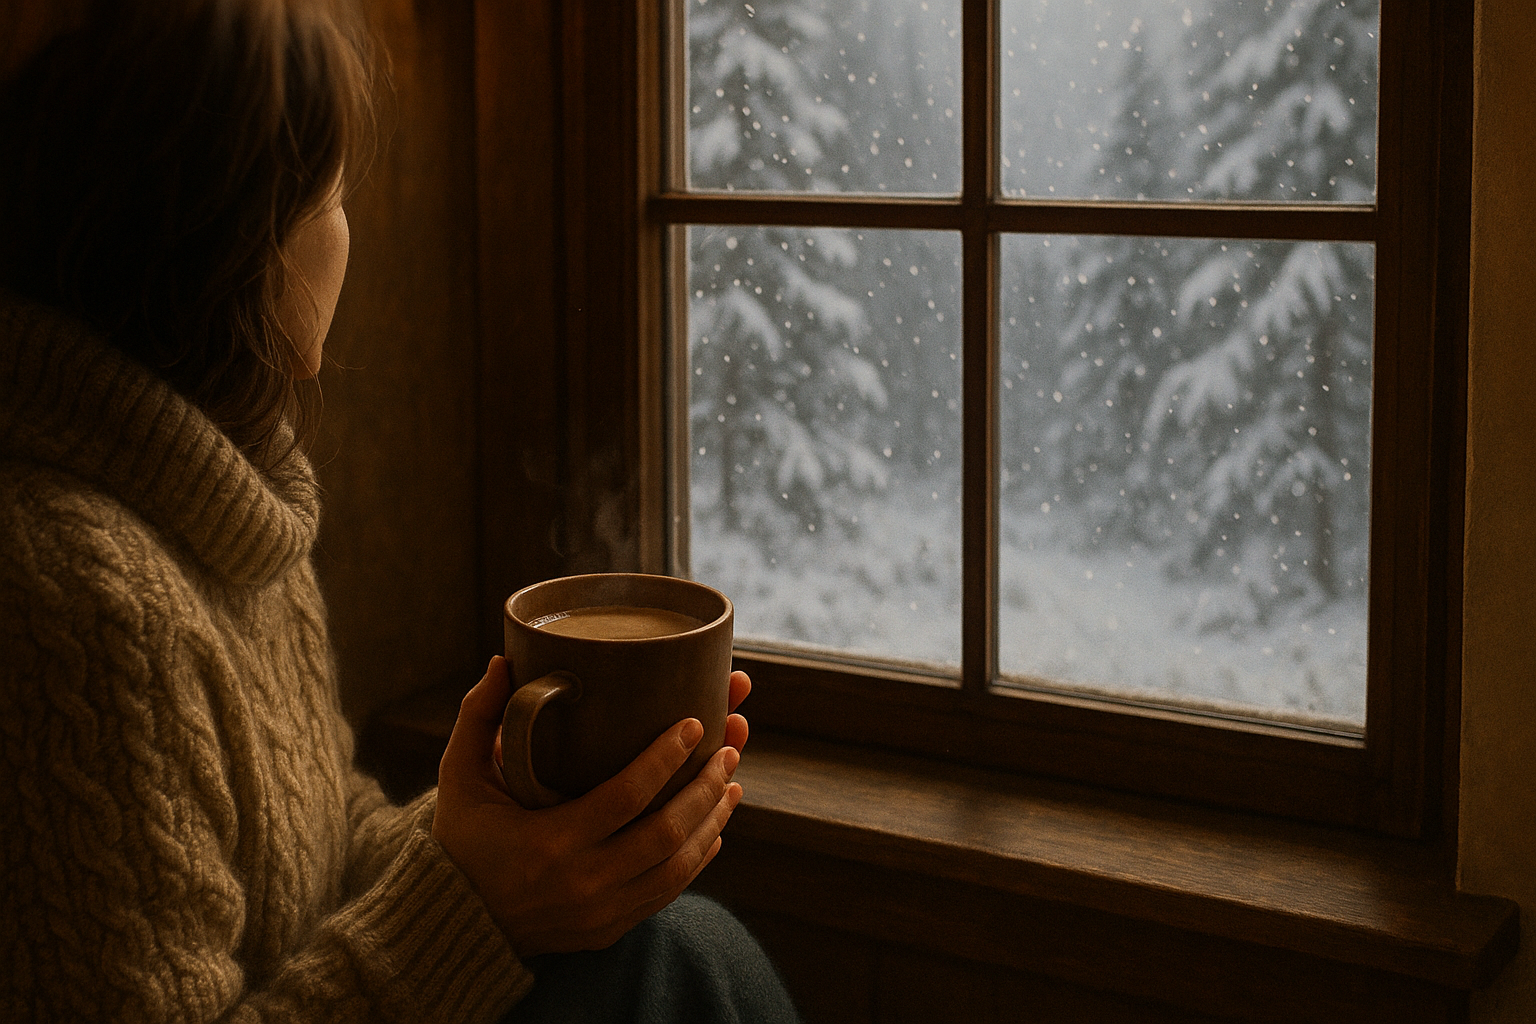
There’s something magical about winter mornings.
The cold air bites your cheeks. Your breath clouds up. You wrap your hands around a warm mug of coffee.
But here’s the thing.
Most of us run to a coffee shop. We pay $5 or $6 for a fancy latte. We do this every single day.
It adds up fast.
What if you could make the same drinks at home? In just 10 minutes. For less than $1 per cup.
You can. This guide will show you how.
I’m not a pro barista. I’ve tested every recipe here. I made mistakes too. I’ll share what I learned.
By the end of this post, you’ll know how to make 5 special winter coffee recipes. You’ll save hundreds of dollars. Your home will smell like a cozy coffee shop.
Let’s start.
Why Make Winter Coffee Drinks at Home?
Winter wants warmth. Coffee is the perfect drink.
A store coffee costs $5 to $6 each. If you buy one every weekday, that’s $25 a week. That’s over $1,200 a year.
Make coffee at home? Cost drops to 75 cents per drink. Same taste. Way less money.
But it’s not just about savings.
When you make coffee at home, you control everything. You pick the milk. You choose how sweet it is. You decide how strong it is.
You can make healthier drinks. Use oat milk instead of cream. Skip extra sugar. Add cinnamon for sweet taste.
And honestly? Making your own drink feels special. It feels like self care. It feels like you give yourself a small gift.
These 5 winter coffee recipes are beginner friendly. You don’t need fancy stuff. You don’t need special skills.
What You Need to Make Café Style Winter Coffee at Home
Before you start, let’s talk gear. Good news: you don’t need much.
You can make great café style coffee with basic tools.
Here’s what I suggest:
Budget Gear for Homemade Winter Coffee
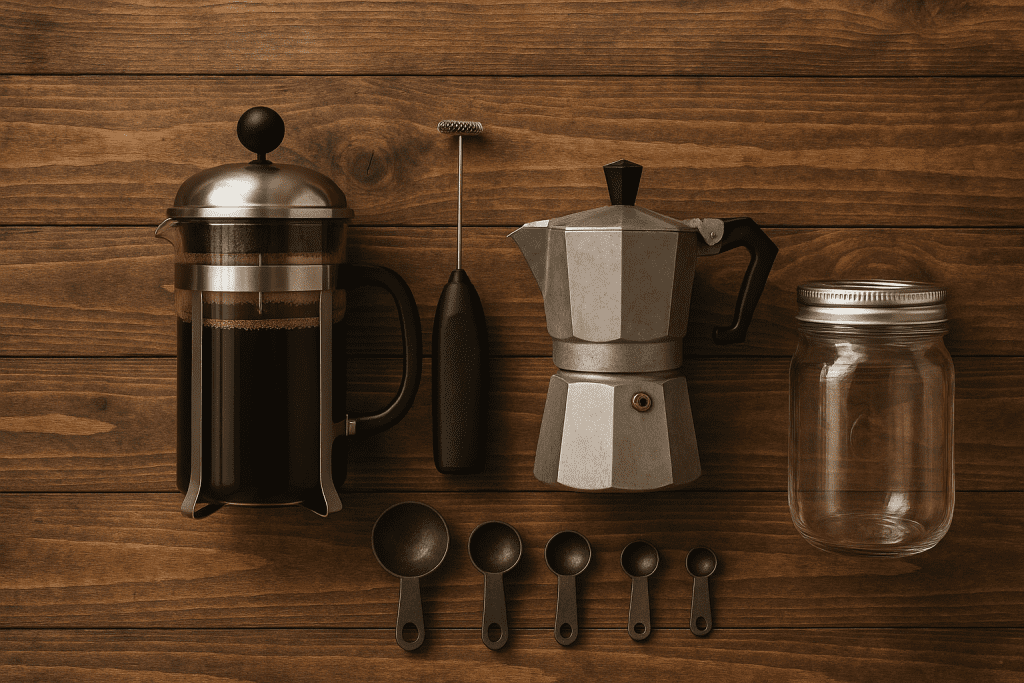
French Press – $15 to $30 Makes strong coffee. Easy to use. No electricity.
Handheld Milk Frother – $10 to $25 Creates foam for lattes. Battery powered. Super simple.
Moka Pot – $20 to $40 Makes espresso style coffee. Works on stove. Tasty results.
Measuring Spoons – $5 to $10 Keeps recipes the same. Small but important.
Mason Jars – $5 to $15 Perfect for storing syrups. They last weeks.
Total? Around $60 to $120. You’ll use these for years.
Now let’s talk about spices.
The Winter Spices You Need
Winter coffee isn’t just coffee. It’s coffee with soul.
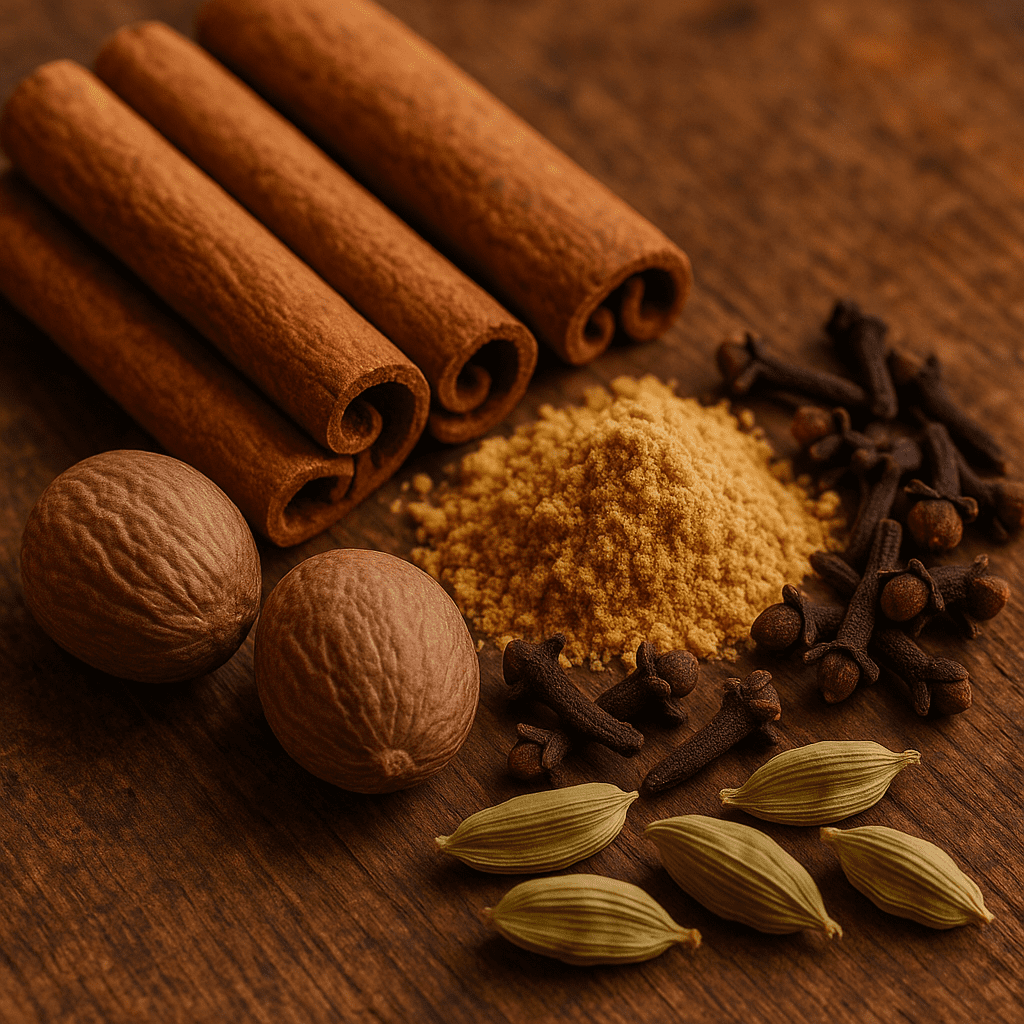
These spices make the difference:
Cinnamon – Warm and sweet. Use it in most drinks.
Ground Ginger – Sharp and spicy. Adds heat. Perfect for morning warmth.
Nutmeg – Rich and complex. A little goes far. Use fresh if you can.
Cloves – Bold and strong. Use just a bit. This spice is powerful.
Cardamom – Exotic and aromatic. Less common. Adds depth.
You probably have some already. Buy them fresh before winter. Old spices lose flavor.
How Much Can You Save Making Winter Coffee at Home?
Let me show you the real math.
Coffee Shop vs. Homemade Cost
| Drink Name | Café Price | Homemade Cost | You Save |
|---|---|---|---|
| Gingerbread Latte | $5.50 | $0.75 | $4.75 |
| Peppermint Mocha | $5.75 | $0.80 | $4.95 |
| Eggnog Latte | $6.00 | $1.00 | $5.00 |
| White Chocolate Mocha | $5.50 | $0.85 | $4.65 |
| Caramel Brûlée Latte | $5.75 | $0.90 | $4.85 |
Here’s what this means for your wallet.
Buy one winter drink every weekday at a shop? $25 a week. That’s $1,200 a year.
Make the same drinks at home? $3.75 a week. That’s $195 a year.
You save about $1,000 a year.
Think about what you could do with that money. A nice trip. A new hobby. Just savings for hard times.
That’s powerful.
Recipe 1: Homemade Gingerbread Latte
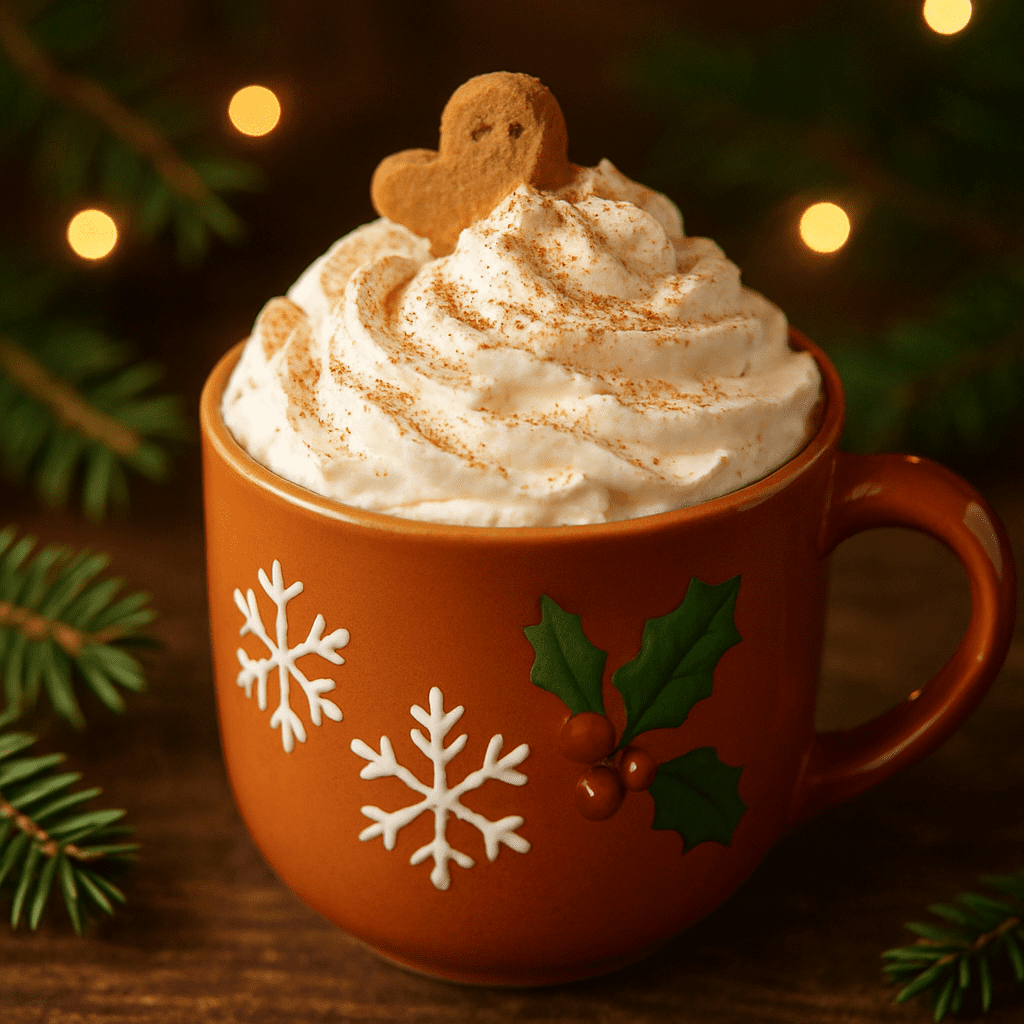
Let’s start with the most loved winter drink.
The gingerbread latte tastes like the holidays. It’s warm. It’s spiced. It’s cozy.
The best part? You make it with homemade gingerbread syrup. Store syrup has weird stuff in it. Homemade is better. And cheaper.
Gingerbread Syrup Stuff You Need
How to Make Gingerbread Syrup
Step 1: Put the sugars, water, and molasses in a small pan.
Step 2: Heat on medium until small bubbles form. Don’t boil hard. Just warm it up.
Step 3: Add all the spices. Stir well.
Step 4: Let it bubble softly for 5 to 7 minutes. The mix will thicken a bit.
Step 5: Take it off the heat. Add vanilla.
Step 6: Let it cool all the way. Pour into a clean jar.
That syrup will last 3 weeks in your fridge.
Now for the latte.
How to Make Gingerbread Latte
You need:
Here’s what to do:
Step 1: Pour the gingerbread syrup into your mug.
Step 2: Make your espresso. Pour it in the mug over the syrup.
Step 3: Heat your milk until warm. Use your frother to make foam.
Step 4: Pour the milk into the mug. Top with foam.
Step 5: Add whipped cream if you want. Sprinkle nutmeg on top.
Total time: About 15 minutes.
Difficulty: Easy. Really easy.
Why this works: The gingerbread taste is bold and cozy. The warm spices remind you of baking. It’s SO much cheaper than a shop.
Pro tip: Make a big batch of syrup on Sunday. Store it in a jar. Make gingerbread lattes all week without the prep time.
Recipe 2: Easy Peppermint Mocha
Here comes the holiday star.
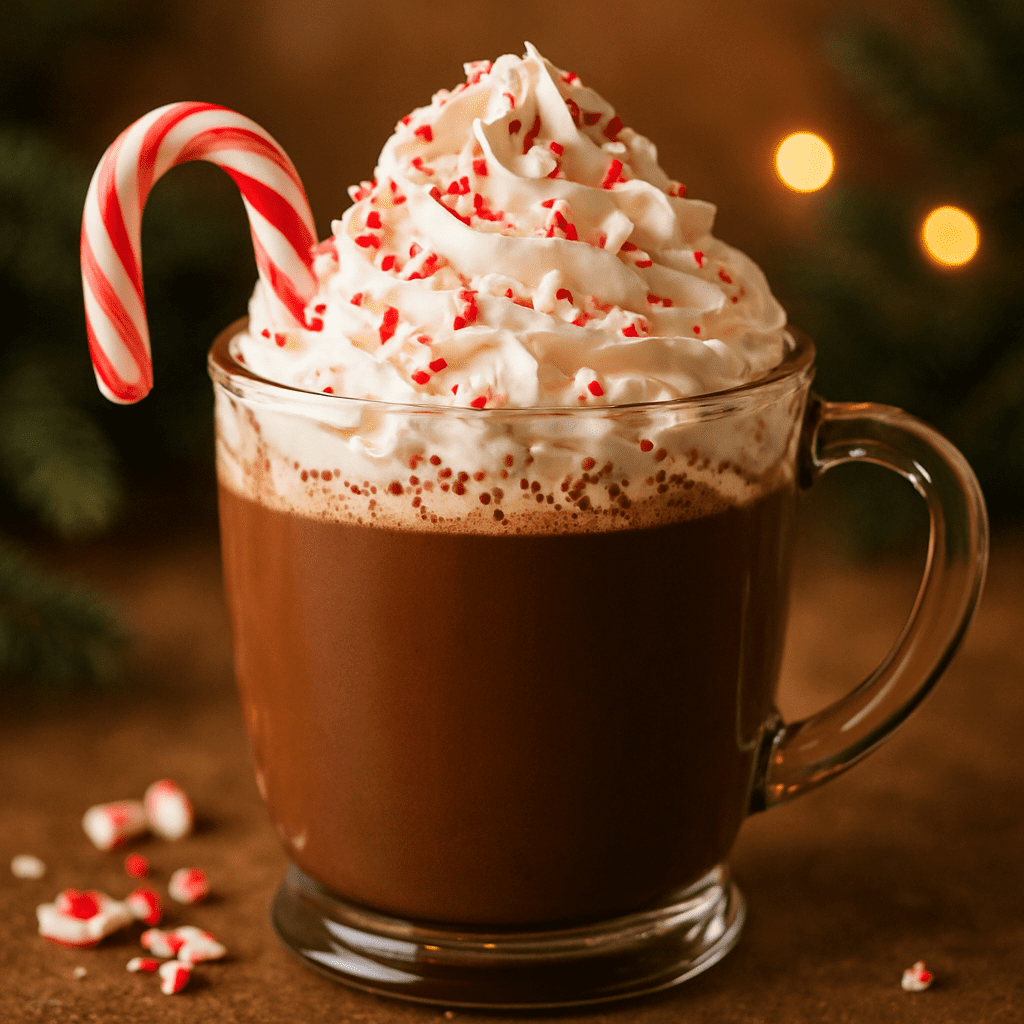
Peppermint mocha mixes three things we love: coffee, chocolate, and mint. It’s a taste blast in a mug.
And it’s dead simple to make.
Peppermint Mocha Stuff
How to Make Peppermint Mocha
Step 1: Mix the sugar and cocoa powder in your mug.
Step 2: Make your espresso. Pour about 2 tablespoons of hot coffee into the mug with sugar and cocoa.
Step 3: Stir until it’s smooth. No lumps.
Step 4: Add the rest of the coffee.
Step 5: Heat your milk. Add the peppermint extract. Use your frother to make foam.
Step 6: Pour the milk into the mug. Top with foam.
Step 7: Add whipped cream if you want. Crush some candy canes on top.
Total time: About 10 minutes.
Difficulty: Very easy.
Why this rocks: Chocolate and peppermint is classic. It tastes like the holidays. You’ll feel fancy drinking it.
Pro tip: Use fresh peppermint extract. Not old stuff from the back of your cabinet. The taste change is huge.
Recipe 3: Creamy Eggnog Latte
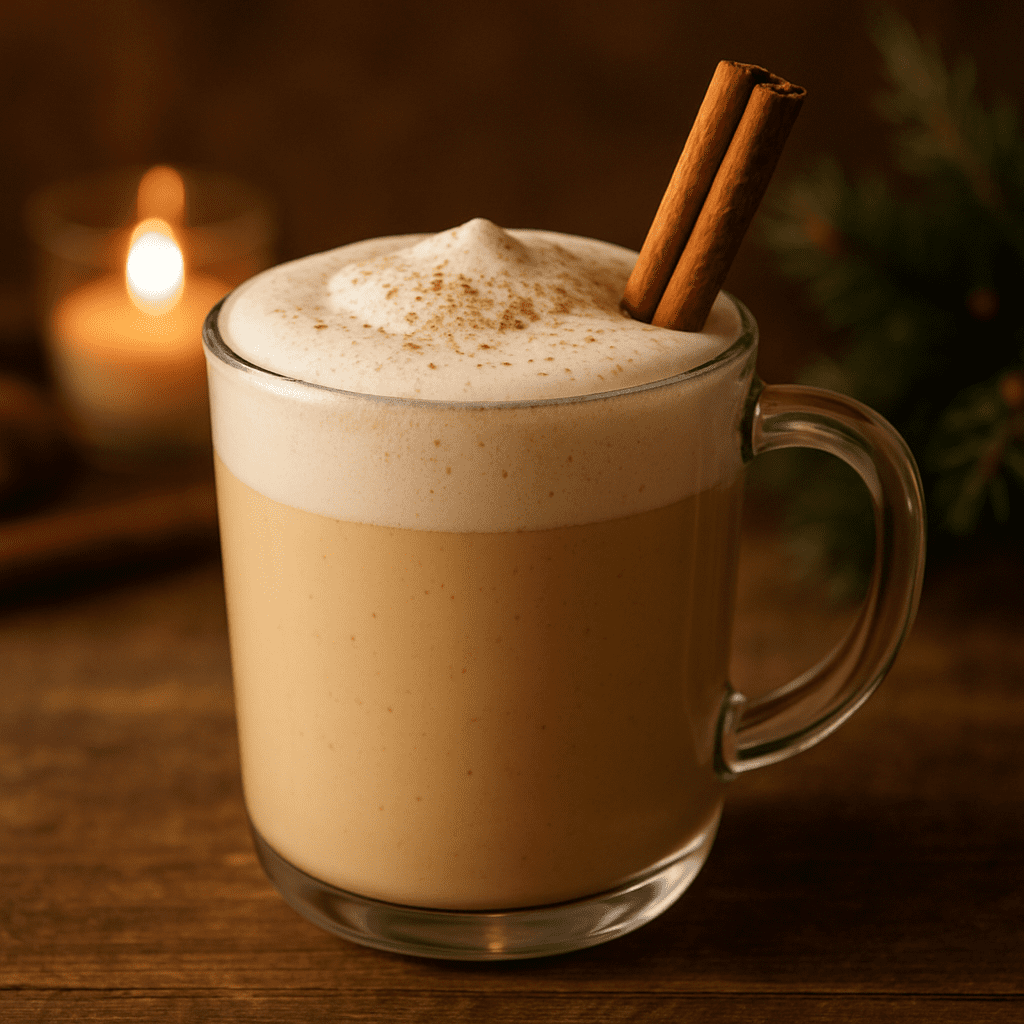
Eggnog latte is the holiday drink that splits people.
You love it or you don’t. No middle ground.
If you love it, this recipe is for you.
Good news is this one is the fastest. Store eggnog does most of the work.
Eggnog Latte Quick Version Stuff
How to Make Eggnog Latte
Step 1: Make your espresso. Pour it into your mug.
Step 2: Heat your eggnog gently. Don’t boil. Boiling makes it weird.
Step 3: Heat your milk separately. Make a little foam with your frother.
Step 4: Pour the warm eggnog into the mug with coffee.
Step 5: Top with the frothed milk and foam.
Step 6: Sprinkle nutmeg on top. Add a cinnamon stick if you have one.
Total time: About 5 to 10 minutes.
Difficulty: Super easy.
Why this works: Eggnog already tastes rich and creamy. Coffee adds a bitter note. Together? Magic.
Pro tip: Make homemade eggnog a week before if you want. But store eggnog works great for a quick drink. No judgment here.
Recipe 4: Decadent White Chocolate Mocha
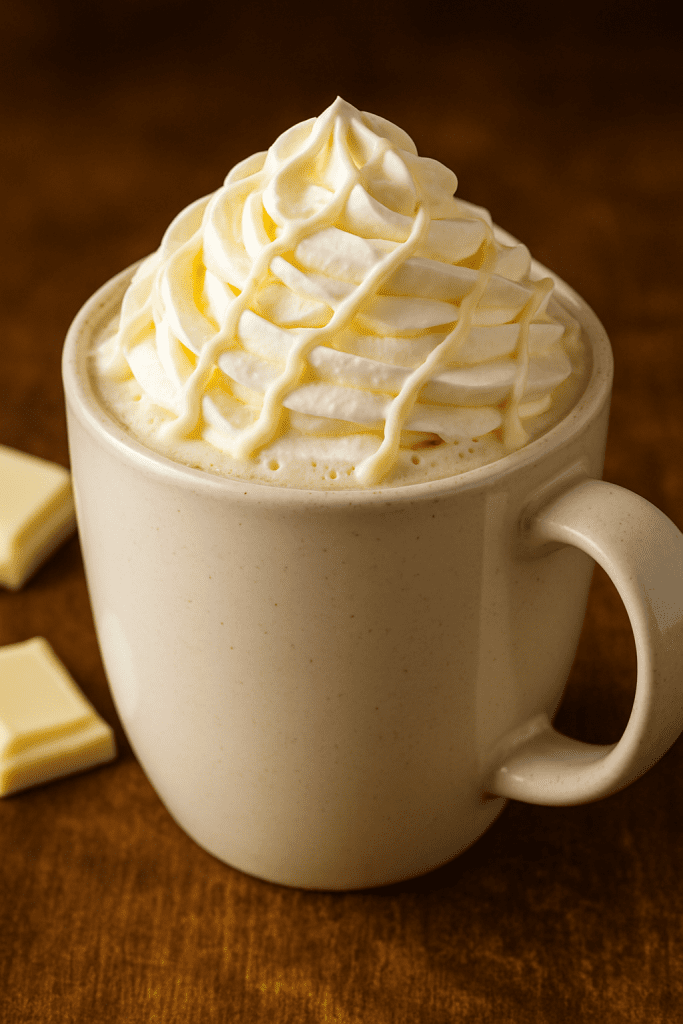
White chocolate mocha is pure indulgence.
It’s sweet. It’s creamy. It’s like dessert you can drink.
And you can make it at home.
White Chocolate Mocha Stuff
How to Make White Chocolate Mocha
Step 1: Put white chocolate chips and 2 tablespoons of milk in a small bowl.
Step 2: Microwave for 30 seconds. Stir. Microwave again for 15 seconds if needed.
Step 3: You want smooth melted white chocolate.
Step 4: Pour this into your mug.
Step 5: Make your coffee. Pour it over the white chocolate.
Step 6: Stir until mixed.
Step 7: Heat the rest of your milk. Froth it.
Step 8: Pour the frothed milk into the mug.
Step 9: Top with whipped cream. Dust with cocoa if you want.
Total time: About 10 minutes.
Difficulty: Easy.
Why this is special: White chocolate is smooth and rich. It doesn’t have the bitter taste of regular chocolate. It’s softer. More subtle.
Pro tip: Make extra white chocolate sauce. Store it in a small jar in your fridge. It lasts 2 weeks. Then make this drink anytime. No prep time.
Recipe 5: Toasty Caramel Brûlée Latte
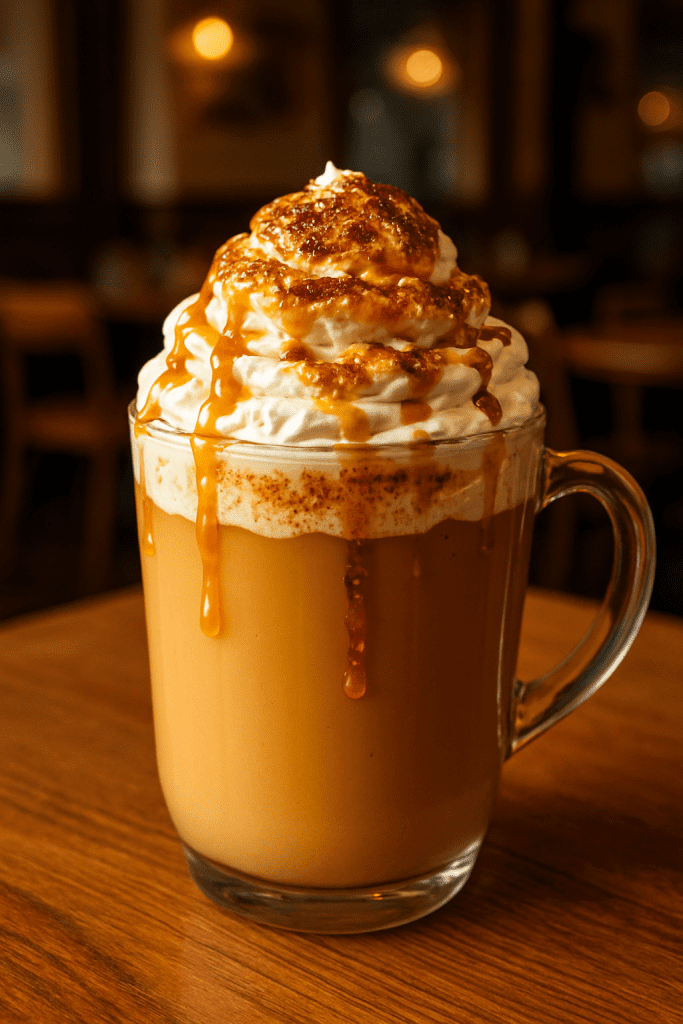
This one tastes fancy but it’s simple.
Caramel brûlée latte has a toasty burnt sugar taste. It sounds odd. But it’s amazing.
Think of burnt sugar candies. Think of caramel cooked until dark and deep. That’s the taste here.
Caramel Brûlée Latte Stuff
How to Make Caramel Brûlée Latte
Step 1: Pour caramel sauce into your mug. Use about 2 ounces.
Step 2: Make your espresso. Pour it into the mug.
Step 3: Stir until mixed.
Step 4: Heat your milk. Froth it with your handheld frother.
Step 5: Pour the frothed milk into the mug.
Step 6: Top with whipped cream.
Step 7: Crush some hard caramel candies and sprinkle on top.
Total time: About 10 minutes.
Difficulty: Easy to medium.
Why you’ll love this: The caramel is sweet but not too much. The burnt sugar taste is addictive. The crushed candy on top? Chef’s kiss. People think you’re fancy.
Pro tip: Make your own caramel sauce if you have time. Brown sugar, butter, and cream in a pan. Takes 10 minutes. Tastes better than store sauce.
5 Beginner Mistakes When Making Winter Coffee Drinks
I made every mistake here. More than once.
Let me save you the pain.
Mistake 1: Using the Wrong Milk
This is the big one.
Not all milk froths the same way.
Whole milk has the right fat amount. It froths really well. It makes a creamy foam that’s thick and stays put.
Low fat milk? Too watery. Foam falls apart fast.
Skim milk? Forget it. You get bubbles. Not foam.
If you want dairy free milk, pick oat milk. Especially barista blend oat milk. It’s made to froth like dairy milk. It works great.
Almond milk and coconut milk don’t froth as well. But they work in a pinch.
Bottom line: Use whole milk or barista blend oat milk. You’ll be happy.
Mistake 2: Overheating Your Milk
This one ruins the taste.
If you heat milk past 150 degrees Fahrenheit, it tastes burned. Scalded. Wrong.
How hot is 150 degrees? Hot to touch but not painful. The outside of your mug should be warm but you can still hold it.
Most handheld frothers heat milk to 150 degrees on their own. You’re usually fine.
But if you heat milk on the stove, use a thermometer. They’re cheap and help.
Mistake 3: Making Weak Coffee
Your coffee has to be strong.
When you add milk to coffee, the milk thins it out. That’s fine. But your start coffee must be powerful.
Use espresso if you can. If not, make double strength coffee. Use twice the normal grounds.
Weak coffee plus milk equals weak latte. That’s not what we want.
Mistake 4: Not Measuring Your Syrup
Too much syrup ruins everything.
I learned this the hard way.
I made a gingerbread latte with way too much syrup. It was like drinking candy juice. The coffee taste went away.
Use measuring spoons. Start with 2 tablespoons of syrup. Taste it. Add more if you want.
Better to start small. You can always add more.
Mistake 5: Storing Syrup Wrong
Homemade syrup will grow mold if you don’t store it right.
Always use a clean glass jar. Never plastic.
Always put it in the fridge. Never leave it on the counter.
Standard syrup lasts 2 to 3 weeks.
Rich syrup (more sugar) lasts up to a month.
Write the date on the jar. Throw it out if you forget when you made it.
How to Make Winter Coffee Drinks Healthier
These recipes have sugar in them. I won’t lie.
But you can make them healthier. You have options.
Use Natural Sweeteners Instead of Sugar
Honey – Floral taste. Works in any recipe. Tastes smooth.
Maple Syrup – Warm and rich. Perfect for fall and winter drinks.
Coconut Sugar – Lower glycemic index. Tastes like caramel.
Stevia – Zero calories. Gets too sweet if you use too much.
Cinnamon – Yes, really. A bit of cinnamon tastes sweet. No added sugar. Use it in gingerbread latte.
Agave Nectar – Mild taste. Won’t change your drink taste.
Try these one at a time. See what you like.
Use Dairy Free Milk to Cut Calories
Oat Milk – Best choice for frothing. Creamy feel. About 30 calories per cup.
Almond Milk – Lower calories. About 15 to 30 calories per cup. Nutty taste.
Coconut Milk – Rich taste. About 45 to 50 calories per cup.
Soy Milk – Good protein. About 40 calories per cup.
These all work. They taste a bit different. Pick your pick.
Skip the Whipped Cream or Use Less
Whipped cream adds about 100 calories per drink.
You don’t need it for a good latte. The foam on top is enough.
If you want whipped cream, use just a little. Or use whipped coconut cream. It’s lower in calories.
How to Store Homemade Coffee Syrups
Making syrup in batches saves time.
Make a big batch of gingerbread syrup on Sunday. Use it all week.
Here’s how to do it right.
Storage Tips for Homemade Syrups
Use glass jars only – Plastic holds onto taste. Glass keeps syrup fresh.
Always put it in the fridge – Room temp kills syrup fast.
Label with the date – You’ll forget when you made it. Write it down.
Standard syrup lasts 2 to 3 weeks – That’s equal parts sugar and water.
Rich syrup lasts up to a month – That’s 2 parts sugar and 1 part water.
Add a bit of vodka for longer life – One tablespoon of vodka extends life by 2 weeks. The alcohol cooks off. You won’t taste it.
Perfect Winter Coffee Moments: When to Make Each Recipe
Timing matters.
Here’s when I make each recipe.
Busy Monday Morning: Eggnog Latte
You’re rushing. You have 5 minutes. You need coffee now.
Eggnog latte is your answer. Use store eggnog. Boom. Done. 5 minutes.
Holiday Party This Weekend: Batch Gingerbread Lattes
You’re having 10 people over.
Make a huge batch of gingerbread syrup. Keep it warm in a slow cooker. Have people add their own espresso and milk.
Everyone gets a cozy drink. You don’t stress.
Cozy Movie Night: White Chocolate Mocha
You’re settling in with a blanket. The movie is on.
White chocolate mocha is dessert in a mug. It’s sweet. It’s calm. Perfect for this moment.
Snow Day Treat: Peppermint Mocha
It’s snowing. You’re home. You need something festive.
Peppermint mocha screams winter. It’s fun. It’s special. It’s perfect for a snow day.
Date Night at Home: Caramel Brûlée Latte
You’re trying to impress someone. Or yourself. A crush is coming.
Caramel brûlée latte looks fancy. It tastes fancy. That crushed candy on top? Chef’s kiss. People think you’re fancy.
Calorie Count: Winter Coffee Drinks Comparison
Health matters. So let’s be honest about calories.
Here’s how these homemade drinks compare to Starbucks drinks.
Homemade vs. Starbucks Calorie Comparison
| Recipe | Homemade (estimated) | Starbucks Grande | Difference |
|---|---|---|---|
| Gingerbread Latte | 180 | 320 | You save 140 |
| Peppermint Mocha | 200 | 440 | You save 240 |
| Eggnog Latte | 250 | 470 | You save 220 |
| White Chocolate Mocha | 220 | 430 | You save 210 |
| Caramel Brûlée Latte | 190 | 410 | You save 220 |
Homemade is much lower in calories. Why? You control what goes in. You use less syrup. You skip extra whipped cream.
Skip whipped cream on your homemade drinks? Cut another 50 to 100 calories.
Frequently Asked Questions About Winter Coffee Recipes
Q: Can I make lattes without an espresso machine?
Absolutely yes.
Use a French press. Use a Moka pot. Use a pour over device.
The key is making strong coffee. Coffee that’s twice as strong as normal.
French press is easiest. Add twice the normal grounds. Brew for 4 minutes. You get strong coffee that’s perfect for lattes.
Q: What’s the best milk for frothing at home?
Whole milk is best for dairy milk. The fat makes the best foam.
For non dairy, oat milk wins. Especially barista blend oat milk.
Other options work but these two are best.
Q: How long do homemade coffee syrups last?
Standard syrup lasts 2 to 3 weeks in the fridge.
Rich syrup (more sugar) lasts up to a month.
Always store in clean glass jars. Never plastic.
If you add one tablespoon of vodka, add another 2 weeks to shelf life.
Q: Can I make these recipes dairy free?
Yes, totally.
Use oat milk. It froths beautifully. It tastes creamy.
Use coconut oil instead of whipped cream.
Everything else stays the same.
Q: How do I reduce sugar in these recipes?
Use less syrup. Start with 1 tablespoon instead of 2 or 3.
Use honey or maple syrup instead of regular sugar syrup.
Add cinnamon for natural sweet taste.
Skip the whipped cream. Skip the extra candy toppings.
Q: Can I batch prepare these drinks for a party?
Make the coffee base. Keep it warm in a slow cooker on low heat.
Add single shots of espresso when people order. Add milk.
People add their own frothed milk and whipped cream.
This works great for hosting.
Barista Tips for Perfect Winter Lattes
I picked up these tips from people who work at coffee shops.
Pre warm Your Mug
This is simple but powerful.
Fill your mug with hot water while you make the drink. Empty it right before pouring.
Why? Hot water keeps your drink hot longer. It warms the ceramic. The drink stays hot for 5 extra minutes.
Use a Thermometer
Get a cheap kitchen thermometer. Seriously.
Stop heating milk at 150 degrees Fahrenheit.
This one change will change your lattes forever. Your milk won’t taste burned.
Swirl Before Pouring
After frothing milk, swirl the pitcher gently.
This mixes the foam into the milk. It makes a smooth velvety feel.
If you just dump foam on top, it separates. Not as good.
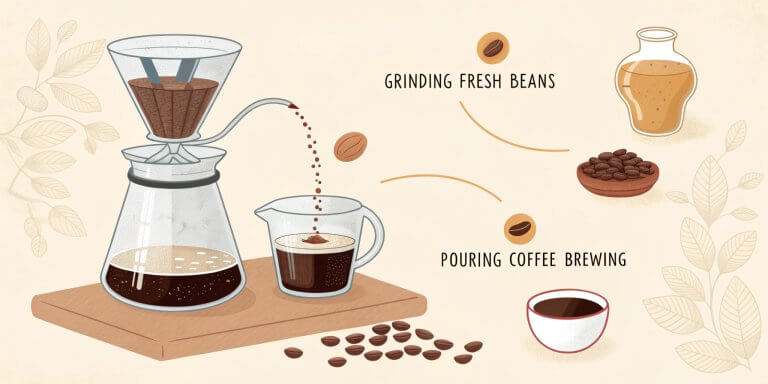
Use Fresh Ground Coffee
Pre ground coffee sits for weeks. The tastes fade.
Buy whole beans. Grind them at home.
Or buy pre ground coffee from a local roaster that grinds fresh.
The taste change is huge.
Taste Test Your Syrups
Before you add syrup to your latte, taste a tiny bit by itself.
Make sure it tastes good. Make sure it’s not too strong.
This saves you from making bad drinks.
Start Your Cozy Winter Coffee Journey Today
You’ve got everything you need now.
Five recipes. All beginner friendly.
Gear that costs under $120.
Tips that actually work.
You know how to save money. How to make healthier drinks. How to store syrups. How to avoid mistakes.
Pick your favorite recipe. Make it this week.
Pay attention to how you feel. Notice the taste. Enjoy it.
Then try another recipe next week.
Before you know it, you’ll have your own set of homemade winter coffee drinks.
You’ll stop buying expensive lattes.
Your kitchen will smell like a cozy coffee shop.
And you’ll have $1,000 more in your bank account by next year.
That’s not just money. That’s freedom.
Start now. Pick one recipe. Make it today.
Your future self will thank you.