Cold brew coffee changed how I drink coffee. It’s smooth. It’s not bitter. And it tastes so much better than iced coffee. Best of all? It’s simple to make at home.
I still think about my first cold brew. I thought it would taste weak or thin. I was so wrong! I got rich, creamy coffee that stayed fresh for weeks. Now I make it every Sunday. It’s my ritual.
Let me share how I do it. You can make great cold brew at home too.
Why Cold Brew Tastes So Good
Cold brew isn’t just coffee on ice. It’s a totally new method. You use cold water and time instead of hot water. The cold water pulls flavors out slowly. You get all the good taste. The bad bitter stuff stays behind.
The result? Smooth coffee. Less acidic. Kind to your stomach. And richer than you’d expect from cold water.
The science is simple. Hot water pulls out flavors fast. But it also pulls bitter oils. Cold water is gentle. It works slowly. So you get all the good flavors without the rough taste. That’s why cold brew is so smooth and clean.
I love cold brew because I make it once and drink it all week. No need to brew fresh cups. Just grab a glass from the fridge. Add some milk or water. Done.
What You Need: The Simple Stuff
Good news. You likely have everything at home.
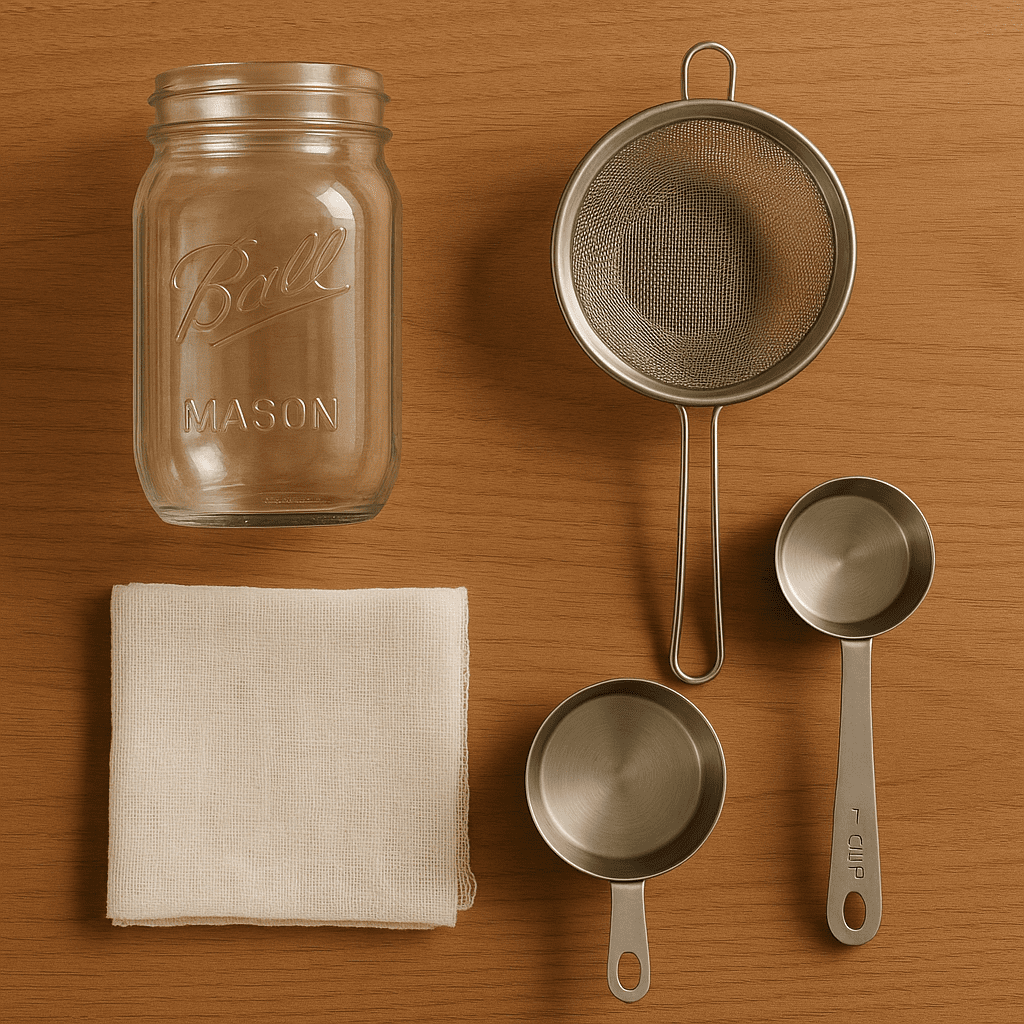
Equipment:
That’s it. No fancy stuff. No expensive tools. Just basic things from your kitchen.
I use a large mason jar. It’s the right size for my week’s coffee. But any large glass bowl works. A pitcher works great. Even a clean glass vase will work.
You just need a container large enough for coffee and water. It needs a lid to keep dust out while it sits in your fridge.
Ingredients: Just Two Things
Cold brew needs only two items: coffee and water.
Ingredients:
That’s your base. Everything else is how you enjoy it.
The grind matters more than you think. You want coarse grounds. Like breadcrumbs. Not medium. Not fine. Coarse. Fine grounds slip through and make your coffee gritty.
I buy whole beans and grind them at home. But if you buy pre-ground, just ask for “cold brew grind.” They’ll get it right for you.
Water matters too. I use filtered water because tap water can add odd flavors. It’s one small thing. But it changes the taste.
Make Cold Brew: Five Simple Steps
Here’s exactly how I make cold brew every week.
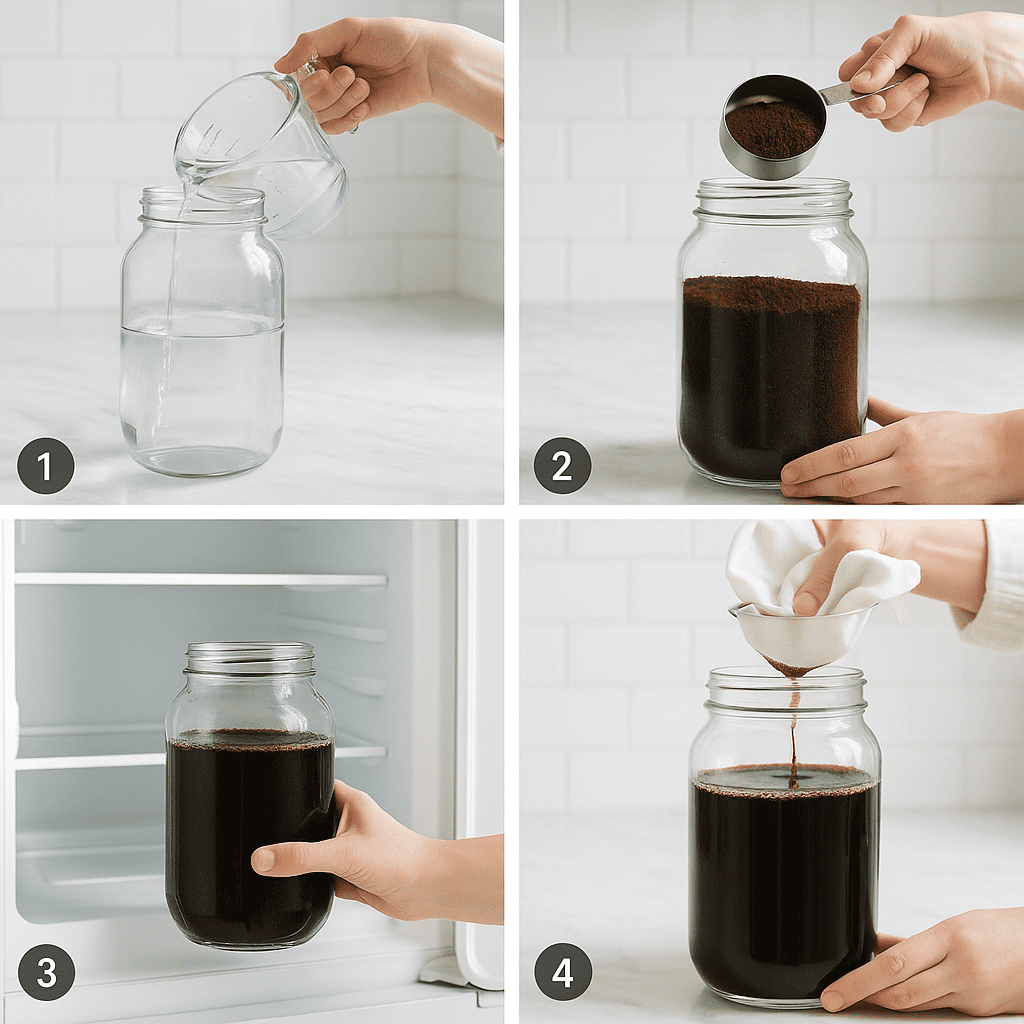
Step 1: Pour Cold Water
Add cold filtered water to your large jar. Not hot. Cold.
Use this ratio: one part coffee to four parts water. So one cup coffee to four cups water. This makes a strong liquid that you’ll thin when you drink it.
I measure carefully. The ratio really does matter. Too much coffee? It’s way too strong. Too little? It tastes weak.
Step 2: Add Your Coffee
Pour your coarse grounds into the water. Stir gently for about one full minute. Make sure every single ground gets wet.
This is key. Dry spots won’t pull out the flavor. You want all the grounds in contact with water.
I’ve seen people skip this step. They add coffee and don’t stir. Then some grounds don’t pull out properly. You get weird flavor. Just spend one minute stirring. It makes a big difference.
Step 3: Put It in the Fridge
Put a lid on your jar. Place it in the fridge. Now comes the wait.
Let it steep for sixteen to twenty hours. I make mine Sunday evening and drink it all week. That timing works best for me.
Don’t rush this part. I’ve tried eight hours. It doesn’t work as well. Cold pulls out flavor slowly. That’s what makes it taste good.
Some people worry about mold. Don’t. Cold slows everything down. Your cold brew stays safe in the fridge for up to two weeks.
Step 4: Strain Out the Grounds
After your steep time, set up your straining system.
Place cheesecloth or a coffee filter over your fine mesh strainer. Put this over a clean jar. Now pour your cold brew through slowly.
This removes the grounds. You get clean, smooth brew. Don’t rush this. Let it drip on its own. Forcing it through will make your coffee cloudy.
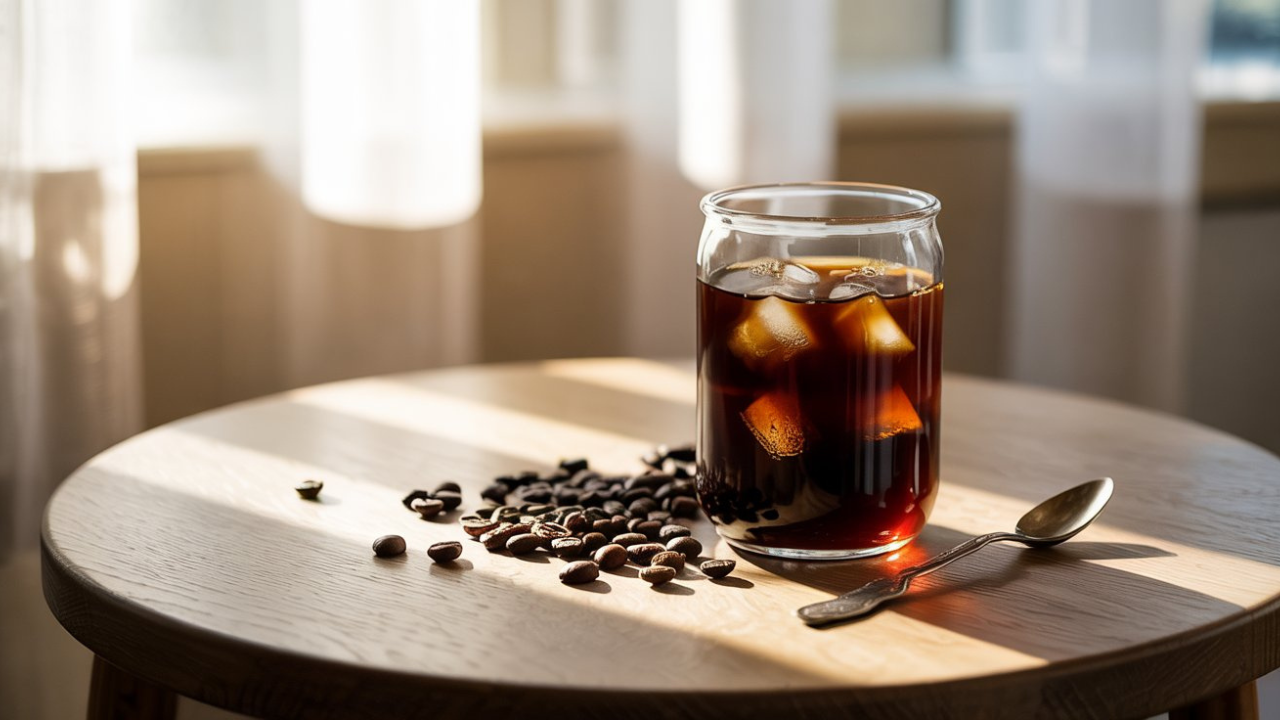
Step 5: Store and Enjoy
Pour your finished brew into a clean jar with a tight lid. Keep it in the fridge.
When you want coffee, pour half brew into a cup. Add half cold water or milk. Add ice if you like. Done.
Like it stronger? Use less water. Like it lighter? Use more water or milk. You choose.
I often add vanilla or cinnamon. Sometimes just milk and honey. You can try lots of things.
Tricks I’ve Learned
I’ve made cold brew many times. Here are tricks that work.
Use Coarse Grounds
Coarse grounds are essential. Medium grounds slip through and make it gritty. Fine grounds create mud at the bottom. Stick with coarse.
Filter Your Water
Tap water works. But filtered water tastes much better. No filter? Let tap water sit for an hour before using it. The chlorine will fade.
Stir for Full Minute
That one minute of stirring means even pulling. It’s the difference between good cold brew and great cold brew.
Write the Date
Mark the date on your jar with a pen. This tells you when you made it. Use it within two weeks.
Keep Concentrate Strong
Your concentrate should taste very strong by itself. That’s right. When you dilute it, it becomes perfect.
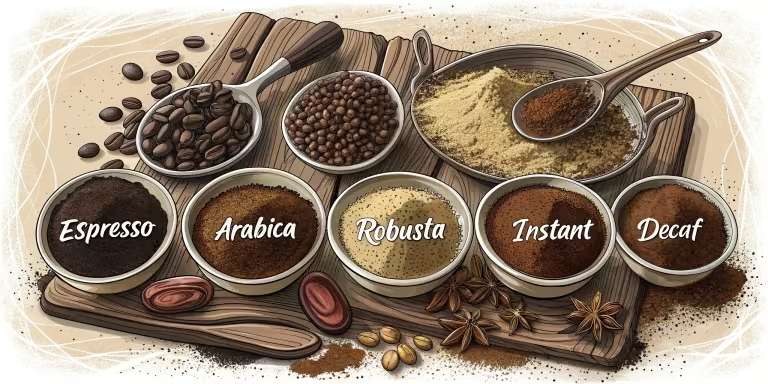
Try Different Coffees
Cold brew works with any coffee. But different beans taste different. Light roasts taste bright. Dark roasts taste bold. Try them and find your favorite.
Other Ways to Make Cold Brew
The jar method is my favorite. It’s hard to mess up. But there are other methods.
French Press Method
Add coffee and water to a French press. Use the same ratio. Let it steep in the fridge for sixteen hours. Slowly press down the plunger. Pour into a jar.
This works well. The downside is French presses can be messy to clean after cold brew.
Cold Brew Makers
You can buy special cold brew makers. They look like drip coffee makers but work differently. They cost more, but some people love them.
Honestly? Save your money and use a jar. The results are the same.
Sock Method
Fill a clean cloth sock with coarse grounds. Tie it shut. Drop it in cold water like a giant tea bag. Let it steep for sixteen hours. Remove the sock. Done.
This is fun and makes great cold brew. The only downside is finding clean socks you don’t need.
Try New Flavors
Once you make basic cold brew, get creative.
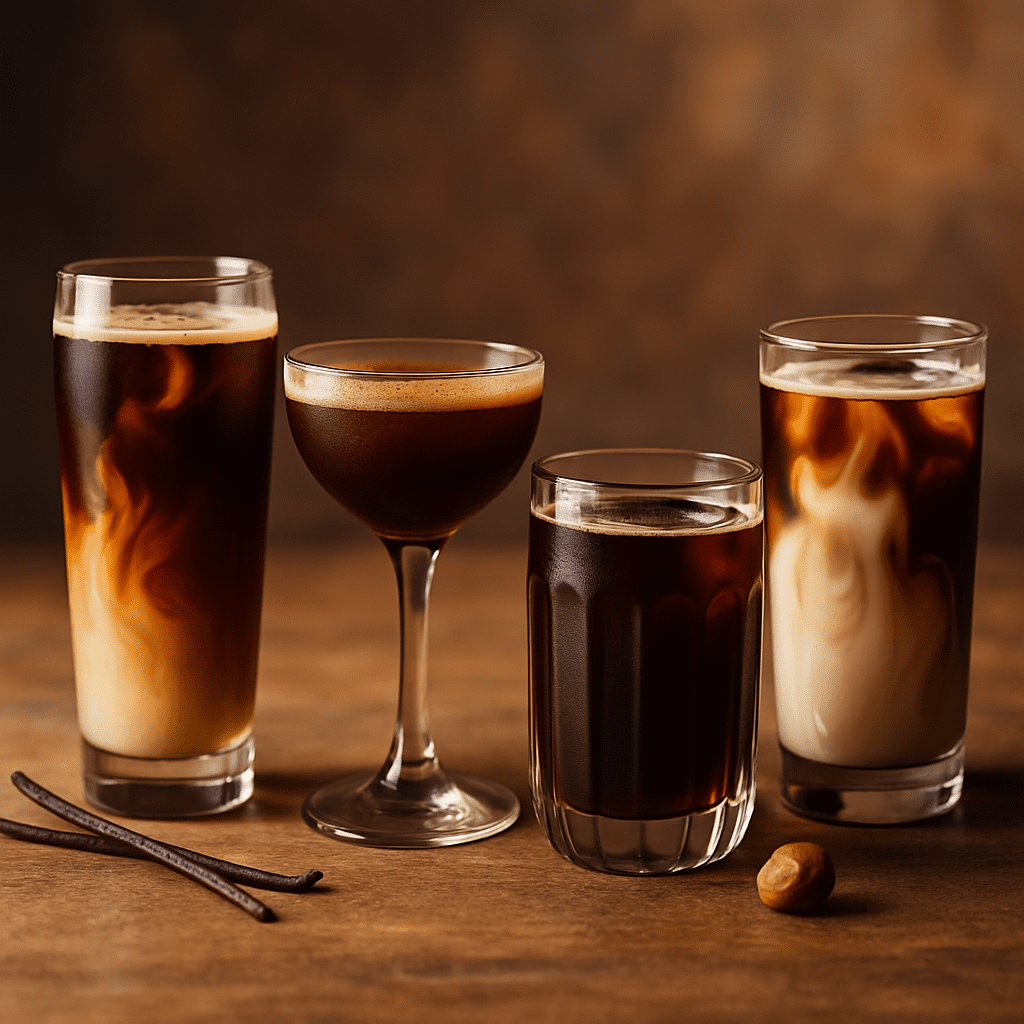
Sweet and Rich
Add one tablespoon of vanilla syrup or sweetened milk to your cup. Stir in some cold milk. It’s like drinking dessert.
Add Spice
Add a cinnamon stick to your brewing jar. Or add cloves or cardamom. Let them steep with the coffee. The spices add warmth without being strong.
Nutty Twist
Add one tablespoon of almond butter or hazelnut paste to your finished cup. Blend it smooth. Now you have creamy, nutty coffee that’s amazing.
Cold Brew Cocktail
Pour some brew in a glass. Add rum or whiskey. Top with cream and a little honey. Now you have an adult drink.
Extra Energy
Some mornings I make it extra strong by using more coffee. Perfect for days when I need extra boost.
How Long Cold Brew Lasts
Your cold brew concentrate stays fresh for two weeks in the fridge. Maybe a little longer. But I don’t suggest keeping it past two weeks.
After two weeks, it starts to taste stale. The flavors fade. It’s still safe to drink. But it won’t taste as fresh.
I store mine in a glass jar with a tight lid. Avoid plastic if you can. Glass keeps flavors fresh much longer.
When you make your next batch, wash out your jar well. Don’t just refill it. Old oils make new batches taste off.
Cold Brew vs. Hot Coffee
This is personal. Some people swear by cold brew. Others prefer hot coffee.
Cold brew is smoother and less acidic. It’s great if you have a sensitive stomach. It’s perfect for hot days when hot coffee sounds bad.
But it takes planning. You can’t make cold brew in five minutes if you need coffee now.
Hot coffee is quick and easy. The flavor is brighter and more complex. Heat pulls out different things.
Honestly? I do both. Cold brew on regular days for speed. Hot coffee on weekends when I can enjoy it.
Fix Common Problems
Tastes Weak?
You probably used too much water or didn’t steep long enough. Try using more coffee or steep for twenty hours instead of sixteen.
Tastes Bitter?
Bitter means over-extraction. Your grounds might be too fine. Or you steeped too long. Use coarser grounds or try sixteen hours instead of twenty.
Looks Cloudy?
Your grounds are too fine and slipping through your strainer. Use a finer mesh strainer or add an extra layer of cheesecloth.
Feels Gritty?
Same issue as cloudy brew. Strain it again through cheesecloth to remove fine particles.
No Flavor?
This means under-extraction. Use more coffee or finer grounds. Or steep longer. Next time, try one part coffee to three parts water.
What’s Inside Your Cup
Let’s talk nutrition.
A cup of undiluted cold brew has about five calories. Just five. No sugar unless you add it.
When you dilute it with water, it stays around five calories.
Add milk? One-fourth cup of whole milk adds about forty calories and some protein.
Add one tablespoon of sweetened milk? That’s about fifty calories and good flavor.
Cold brew itself is very low calorie. What you add is what counts.
The caffeine is solid too. A cup of cold brew has about one hundred fifty to two hundred milligrams of caffeine. That’s the same as hot coffee.
Make Cold Brew Your Weekly Habit
Making cold brew at home changed everything for me. It’s convenient. It’s smooth. It’s affordable.
You save money compared to buying from coffee shops. A week of cold brew costs the same as two cafe cups.
Plus, you control the quality. You pick the beans. You pick how strong to make it.
Start with this basic recipe. Make a batch this weekend. Try it both ways: with water and with milk. See what you like best.
Once you taste homemade cold brew, you’ll see why people love it so much.
It’s truly that good.

How to Cold Brew Coffee at Home
Equipment
- 1 mason jar or pitcher
- 1 Fine mesh strainer
- Cheesecloth or coffee filters
- Measuring cups
Ingredients
- 1 Cup Coarsely ground coffee
- 4 Cups Cold filtered water
- Ice cubes for serving
- Milk or cream (optional)
Instructions
- Step 1: Add cold filtered water to your large jar or pitcher. The perfect ratio is 1 cup coffee to 4 cups water for a strong concentrate. Pour slowly to fill your jar.
- Step 2: Add the coarsely ground coffee to the water. Stir gently for one full minute to make sure all grounds are wet. No dry spots allowed — they won’t extract properly and you’ll miss flavor.
- Step 3: Cover your container and place it in the refrigerator. Let it steep for 16 to 20 hours. Don’t rush this step — good cold brew takes time. The longer steep means smoother, richer flavor.
- Step 4: Set up your strainer with cheesecloth or coffee filter. Pour the cold brew through slowly to separate the liquid from grounds. This gives you smooth, clean coffee without any grit or cloudiness.
- Step 5: Store the concentrate in a clean jar. When ready to drink, mix 1:1 with cold water or milk. Pour over ice and enjoy your perfect cold brew!