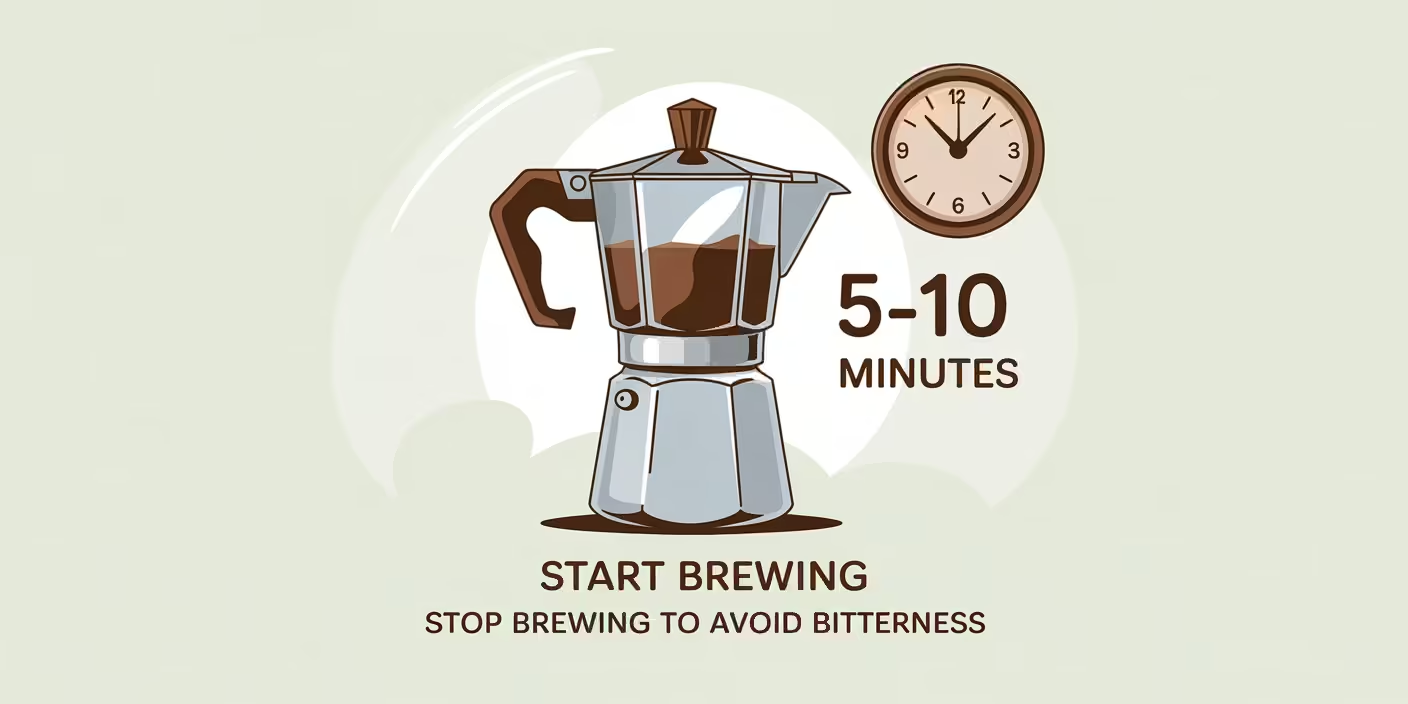
Percolate coffee for 7-10 minutes for the best flavor. Start timing when you hear the distinctive “perking” sound and remove from the heat once the coffee reaches your preferred strength. This timing prevents bitter over-extraction while ensuring full flavor development.
Coffee percolation might seem mysterious at first. But mastering the timing transforms your morning routine. This ancient brewing method creates bold, robust coffee that modern machines cannot replicate. The key lies in understanding how time affects flavor extraction.
Many coffee lovers struggle with percolator timing. Too short, and your coffee tastes weak. Too long, and bitterness ruins the experience. This guide eliminates guesswork. You will learn exactly when to start timing, how to recognize doneness, and what to do when things go wrong.
Understanding the Percolation Process
What Is a Coffee Percolator?
A coffee percolator consists of three main parts. The bottom chamber holds water. A vertical tube connects to a perforated basket above. This basket holds your coffee grounds.
The magic happens through physics. Heat creates steam bubbles in the bottom chamber. These bubbles push hot water up the tube. Water then showers over coffee grounds and drips back down. This cycle repeats continuously until you remove the heat.
Two types dominate the market: stovetop and electric models. Stovetop percolators need external heat sources like gas burners or campfires. Electric versions plug into wall outlets and control temperature automatically.

Comparison between stovetop and electric coffee percolators
How Percolation Extracts Flavor
Percolation differs from other brewing methods in one crucial way. Water passes through coffee grounds multiple times. Each cycle extracts more compounds from the beans.
This repeated contact creates intense flavors. Water temperatures reach 195-205°F during brewing. Higher temperatures extract compounds faster than cooler methods. The continuous cycling builds strength gradually.
Compare this to drip coffee, which passes water through grounds once. French press steeps grounds in still water. Percolation combines both approaches. Moving water plus extended contact time equals bold results.
Why Timing Is Critical for Percolator Coffee
Under-Extraction vs. Over-Extraction
Coffee extraction follows a predictable pattern. Early compounds include bright acids and caffeine. These dissolve quickly and taste pleasant. Middle compounds add sweetness and body. Late compounds bring bitter tannins and astringent flavors.
Perfect timing captures the good stuff while avoiding the bad. Under-extraction produces weak, sour coffee. You taste mostly acids without balancing sweetness. Over-extraction brings harsh bitterness that overpowers everything else.
The 7-10 minute window hits the sweet spot. This duration extracts desirable compounds while limiting bitter ones. Your taste buds detect the difference immediately.
Temperature Dynamics Over Time
Percolator temperatures change during brewing. Cold water starts around room temperature. As heating begins, water reaches 195°F before percolation starts. The cycling action maintains this temperature range throughout brewing.
Electric percolators control heat automatically. They reduce power once percolation begins. Stovetop models require manual adjustment. You must lower the heat when perking starts to prevent boiling.
Boiling water extracts too aggressively. Temperatures above 205°F pull harsh compounds from coffee. Maintaining proper heat prevents over-extraction while ensuring complete flavor development.
Step-By-Step Timing Guide for Beginners
Pre-Heat and Setup (0-1 Minute)
Start with cold, filtered water in the bottom chamber. Fill to the recommended level without overfilling. Most percolators mark capacity clearly. Use one tablespoon of coarse-ground coffee per cup of water.
Grind size matters enormously. Use coarse grounds similar to sea salt. Fine grounds slip through filters and create muddy coffee. They also extract too quickly, causing bitterness.

Proper coarse coffee grind size for percolator brewing
Assemble your percolator correctly. Insert the tube firmly into the bottom chamber. Place the basket on top and add coffee grounds. Secure the lid tightly to prevent steam loss.
Initial Percolation Phase (1-3 Minutes)
Apply medium heat to start the process. Watch for the first signs of percolation. You will hear gentle bubbling as steam bubbles form. Water begins rising through the tube during this phase.
Listen carefully for the distinctive “perking” sound. This rhythmic bubbling indicates proper percolation has begun. If you have a glass knob, you can see coffee-colored water shooting up.
Adjust the heat immediately when perking starts. Reduce to low or medium-low to maintain gentle cycling. Violent boiling creates over-extraction and bitter flavors.
Mid-Brewing Phase (3-6 Minutes)
The brewing chamber fills with coffee during this stage. Each cycle adds strength and develops flavors. You can see the coffee getting darker through the glass knobs or clear chambers.
Monitor the percolation rate carefully. Steady, gentle bubbling works best. Too fast indicates excessive heat. Too slow means insufficient temperature. Adjust your heat source accordingly.
Taste-test at the 5-minute mark if desired. Use a clean spoon to sample from the chamber. This helps gauge strength development. Remember that flavor continues building throughout brewing.

Step-by-step visual guide to brewing perfect percolator coffee
Final Percolation Phase (6-9 Minutes)
Most coffee reaches optimal strength between 7 and 10 minutes. Start checking at 7 minutes for medium strength. Continue to 9-10 minutes for bold coffee. Never exceed 10 minutes to avoid bitterness.
Visual cues help determine doneness. Coffee should be dark amber or rich brown. Pale color indicates under-extraction. A very dark color suggests over-brewing.
Electric percolators often signal completion automatically. Some models switch to warming mode. Stovetop versions require manual monitoring throughout the process.
Resting and Serving
Remove from heat immediately when brewing completes. Let the coffee settle for 1-2 minutes off the heat. This allows grounds to sink and temperatures to stabilize slightly.
Remove the grounds basket promptly. Leaving it in continues the extraction even off heat. This leads to bitter flavors in your finished coffee.
Serve immediately for best results. Percolator coffee tastes best when fresh and hot. Avoid reheating, which degrades flavors further.
Troubleshooting Common Timing Issues
Coffee Tastes Bitter—Too Long?
Bitter coffee indicates over-extraction from excessive brewing time. The solution is straightforward: reduce brewing time by 1-2 minutes for the next batch. Also, check your grind size—fine grounds over-extract quickly.

Visual guide for troubleshooting common percolator coffee problems
Quick fixes for current bitter coffee include dilution with hot water. Add small amounts until bitterness becomes tolerable. This salvage method works reasonably well.
Prevention works better than correction. Set a timer when perking begins. Remove from heat promptly at your target time. Consistency improves with practice.
Coffee Tastes Weak or Sour—Too Short?
Weak, sour coffee signals under-extraction. Increase brewing time by 1-2 minutes on the next attempt. Also, verify your coffee-to-water ratio—use more grounds if needed.
Check grind size if problems persist. Very coarse grounds extract slowly and may need longer brewing. Adjust to medium-coarse for better extraction rates.
Water temperature affects extraction speed. Ensure your heat source brings water to the proper percolating temperature. Insufficient heat creates weak results regardless of timing.
Inconsistent Results Between Brews
Inconsistency usually stems from variable timing or heat control. Keep detailed notes about grind size, coffee amount, water volume, and exact brewing time. This creates a baseline for improvement.
Heat source consistency matters greatly. Gas burners provide steadier heat than electric coils. Electric percolators offer more consistent results than stovetop versions.
Environmental factors affect brewing, too. Altitude changes boiling points. Humidity affects coffee moisture. Room temperature influences heat retention. Account for these variables when troubleshooting.
Equipment Tips to Perfect Your Timing
Choosing the Right Percolator Model
Stovetop percolators offer maximum control over the brewing process. You adjust the heat manually throughout brewing. This allows fine-tuning for perfect results. However, they require constant attention during brewing.
Electric models provide convenience and consistency. Built-in thermostats maintain proper temperatures automatically. Many include automatic shut-off features. However, you sacrifice some control over the process.
Consider capacity when choosing models. Small percolators (3-6 cups) heat faster but serve fewer people. Large versions (9-12 cups) take longer but handle groups well. Match size to your typical serving needs.
Accessories That Improve Accuracy
External thermometers help monitor water temperature precisely. Clip-on models attach to percolator sides. Digital versions provide instant readings. This removes guesswork from temperature control.
Timer apps ensure consistent brewing duration. Set alarms for start and finish times. This prevents over-brewing from distraction. Consistency improves results dramatically.
Coffee scales improve measurement accuracy. Weigh coffee grounds and water instead of using volume measures. This provides repeatable ratios between batches. Slight variations make significant flavor differences.
Advanced Techniques for Flavor Refinement
Pulse-Percolation Method
This advanced technique involves cycling the heat on and off during brewing. Start normal percolation for 3-4 minutes. Remove from heat for 1 minute. Return to the heat for 2-3 more minutes. This controlled extraction reduces bitterness while maintaining strength.
The pause allows flavors to equilibrate throughout the coffee. Aggressive extraction happens during active percolation. Resting periods let harsh compounds settle. The result balances strength with smoothness.
Experiment with timing intervals. Some prefer 4 minutes on, 2 minutes off, then 3 minutes on. Others use shorter cycles. Find your preference through testing. Keep detailed notes for repeatability.
Cold-Start Percolation (Cold Brew Hybrid)
This method combines cold brewing principles with percolation mechanics. Start with room temperature water instead of heated water. Place on very low heat for extended periods (30-45 minutes). The slow heating creates smoother extraction.
Cold-start percolation produces less acidic coffee. Slower extraction rates favor sweet compounds over sour acids. The extended time allows full flavor development without harsh notes.
Monitor temperature carefully during cold-start brewing. Water should never exceed 185°F. Use a thermometer to track heating. Remove from heat if temperatures climb too high.
Flavor Infusions and Add-Ins
Add spices during the mid-brewing phase for infused flavors. Cinnamon sticks, cardamom pods, or vanilla beans work well. Add them at the 4-minute mark to prevent overpowering.
Citrus zest brightens percolator coffee naturally. Add orange or lemon peel during the final brewing minutes. Remove before serving to prevent bitterness from oils.
Time infusions carefully to avoid overwhelming coffee flavors. Pungent spices like cloves need only 1-2 minutes of contact time. Mild additions like vanilla can remain throughout brewing.
FAQ Section
Can I percolate coffee for more than 10 minutes?
Brewing beyond 10 minutes creates bitter, over-extracted coffee. The cycling action continues pulling harsh compounds from the grounds. Stop at 10 minutes maximum for best results.
What grind size works best for percolator coffee?
Use coarse grounds similar to sea salt texture. Medium-coarse also works well. Avoid fine grinds, which slip through filters and over-extract quickly.
How often should I clean my percolator to maintain timing accuracy?
Clean after every use to prevent oil buildup. Deep clean weekly with a vinegar solution. Residue affects heat transfer and extraction timing. Clean equipment produces consistent results.
Is percolator coffee stronger than drip coffee?
Yes, percolator coffee tastes stronger due to multiple extractions. The cycling action builds intensity gradually. Expect bolder flavors than single-pass brewing methods.
Conclusion and Next Steps
Perfect percolator timing transforms ordinary coffee into extraordinary experiences. The 7-10 minute window provides optimal extraction without bitterness. Start timing when perking begins, not when heating starts.
Remember the key factors: coarse grounds, proper ratios, controlled heat, and precise timing. Each element affects the final flavor. Master one variable at a time for steady improvement.
Experiment with 1-minute timing increments to find your preference. Keep brewing logs, noting grind size, ratios, timing, and results. Consistency develops through practice and attention to detail.
Your perfect cup awaits through patient experimentation. Every adjustment brings you closer to percolator mastery. Start with these guidelines, then personalize based on your taste preferences.